Alongside fermented cucumbers, pickled beets are one of my favorite preserves. My grandma used to make them for me regularly, bringing fresh jars almost weekly because our family devoured them in no time (luckily, my kids love them too, which makes me especially happy since they’re super healthy). Eventually, I got tired of relying on grandma and challenged myself: what kind of home cook can’t preserve a jar of beets? I started researching online and picked grandma’s brain about her recipe, then crafted my own version. Honestly, I don’t know why I stressed so much—it’s one of the simplest pickles you can make.
The Secret to Crunchy Pickles Is Fresh Beets
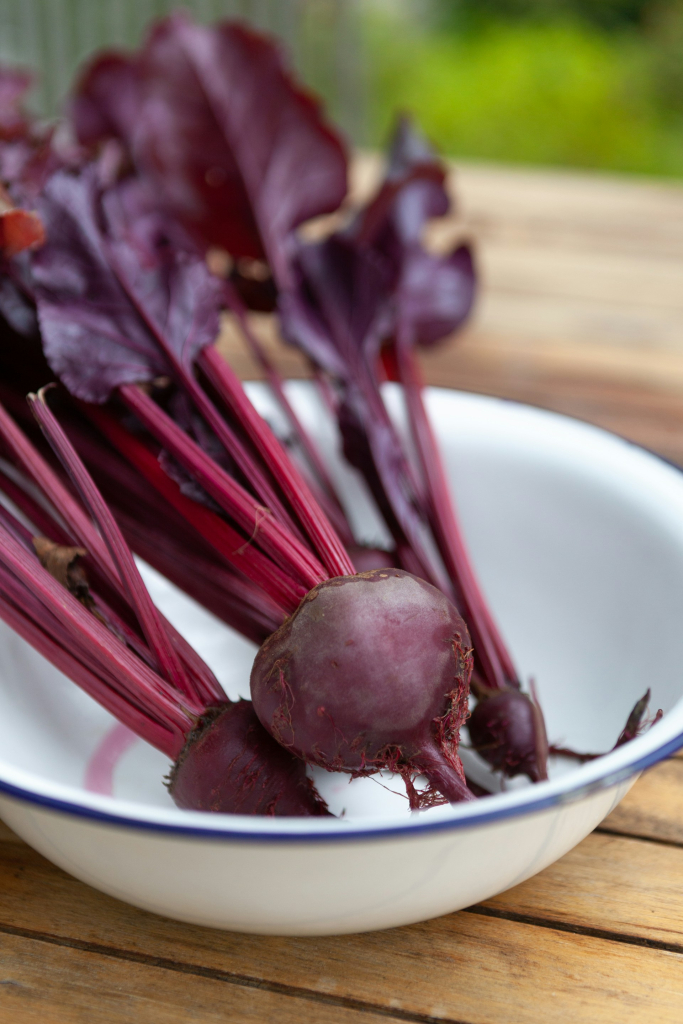
First, you need to get the freshest, most beautiful beets you can find. That sounds easy, but since I usually order groceries online, I can’t always control the freshness, and sometimes slightly wilted veggies arrive—which isn’t ideal for beets. So the key is to pick beets that are ripe but not overripe or soft. Cook them whole, skin on, in a large pot. For me, this can take up to 45 minutes—though it depends on the beet variety, which you can’t always control unless you grow your own, which is a special joy. From experience, there’s no need to salt the cooking water; just like potatoes cooked in their skins absorb very little salt, beets do too.
Once Cooked, Save the Cooking Liquid
When the beets are done (you’ll know because a fork slides in easily without resistance, but the beet isn’t mushy), rinse them with cold water and let them cool. I once tried peeling them right away when I was in a rush—my fingers hurt from the heat the next day! So if you want to be kind to yourself, wait until the beets are cool before peeling. Heads up: beets stain everything really well—that’s why they’re popular as natural Easter egg dyes. Protect your surfaces with something you don’t mind getting stained before you start peeling.
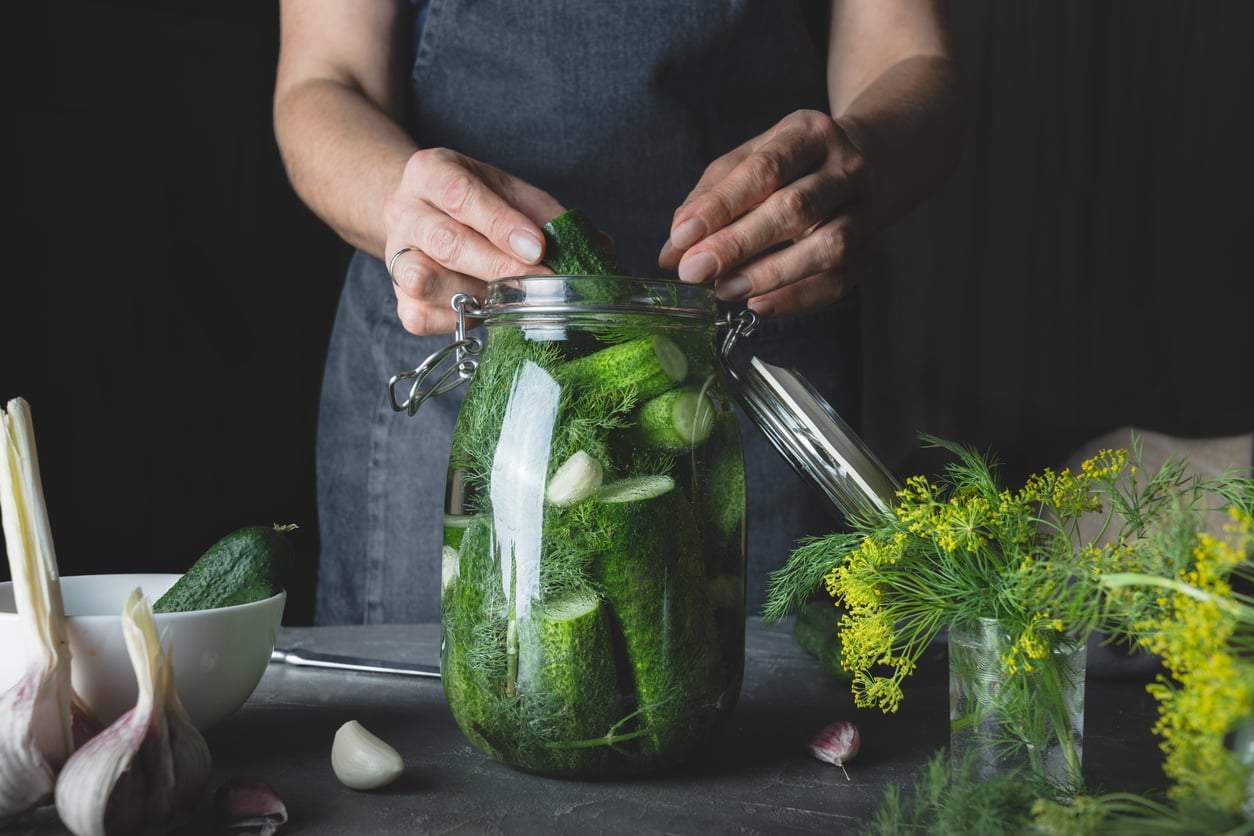
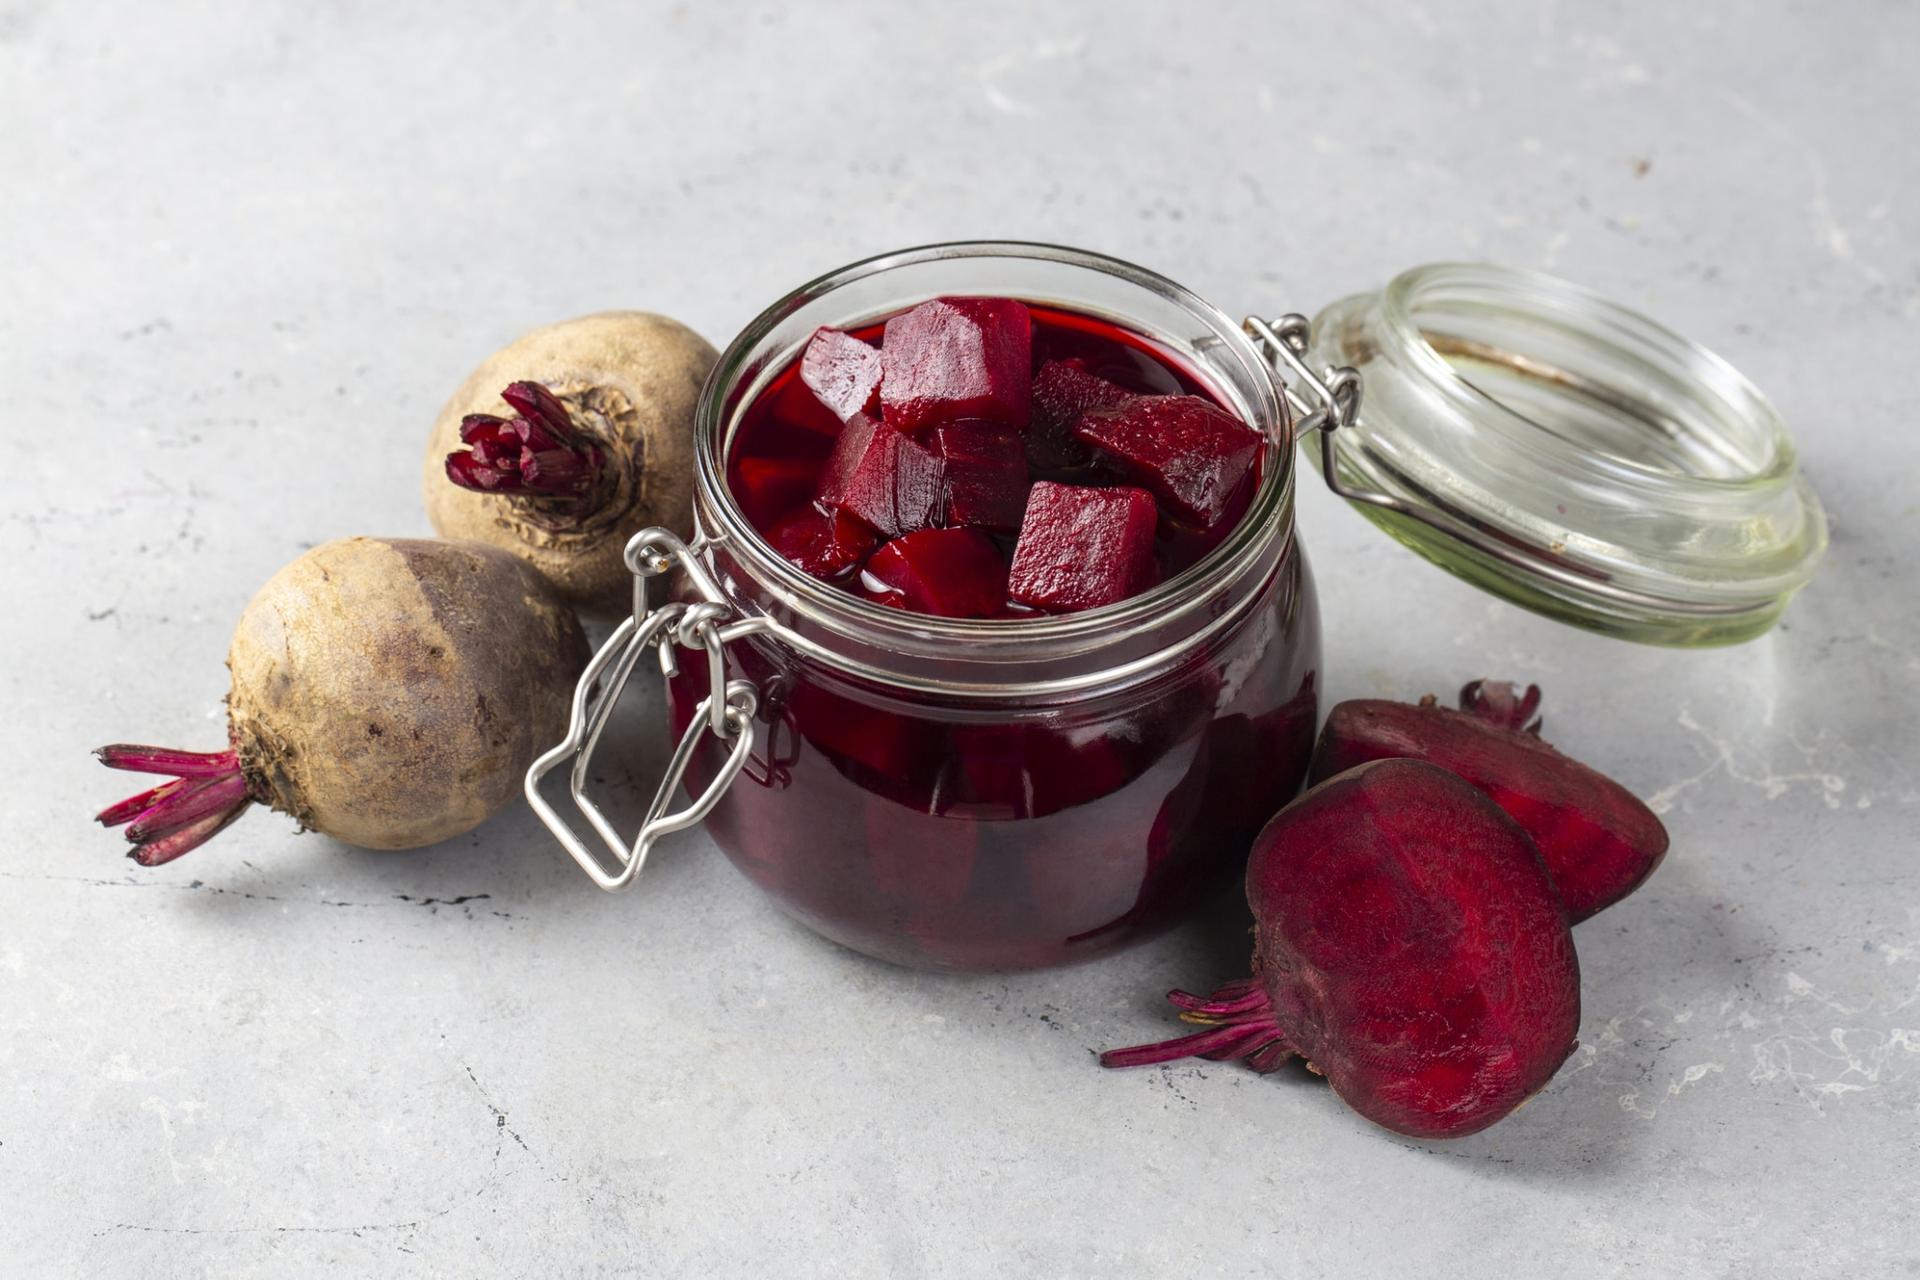
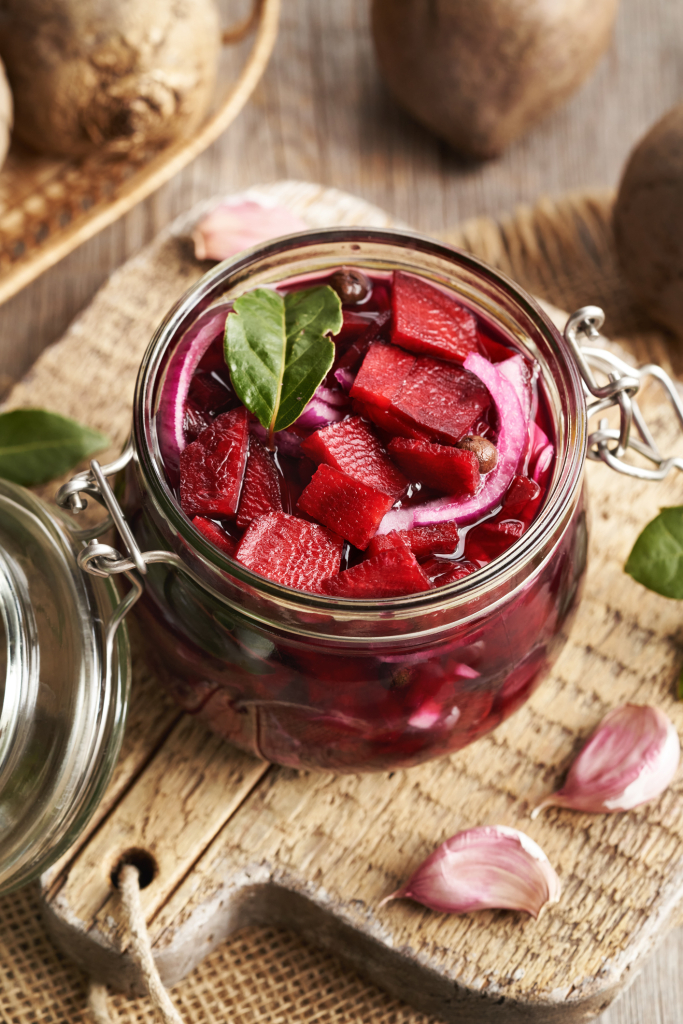
Once peeled, cut the beets into cubes or slices—whichever you prefer. If you want those classic wavy store-bought slices, a serrated knife will help you create that pretty look. Meanwhile, prepare the pickling liquid by mixing water, vinegar, and sugar in a bowl. Some people heat this mixture to blend flavors and dissolve sugar faster, but I’ve skipped boiling when in a hurry, and it still turned out great. The flavor should be similar to the vinegar brine you’d serve with pickles at lunch. When ready, neatly pack the beets into a clean, sterilized jar and pour the brine over them. Some add onion rings, others boost flavor with pepper, garlic, and bay leaves. I keep it classic with caraway seeds—sometimes whole seeds, sometimes ground—and it dissolves perfectly without leaving any off flavors.
Sealing and the Warm Bath
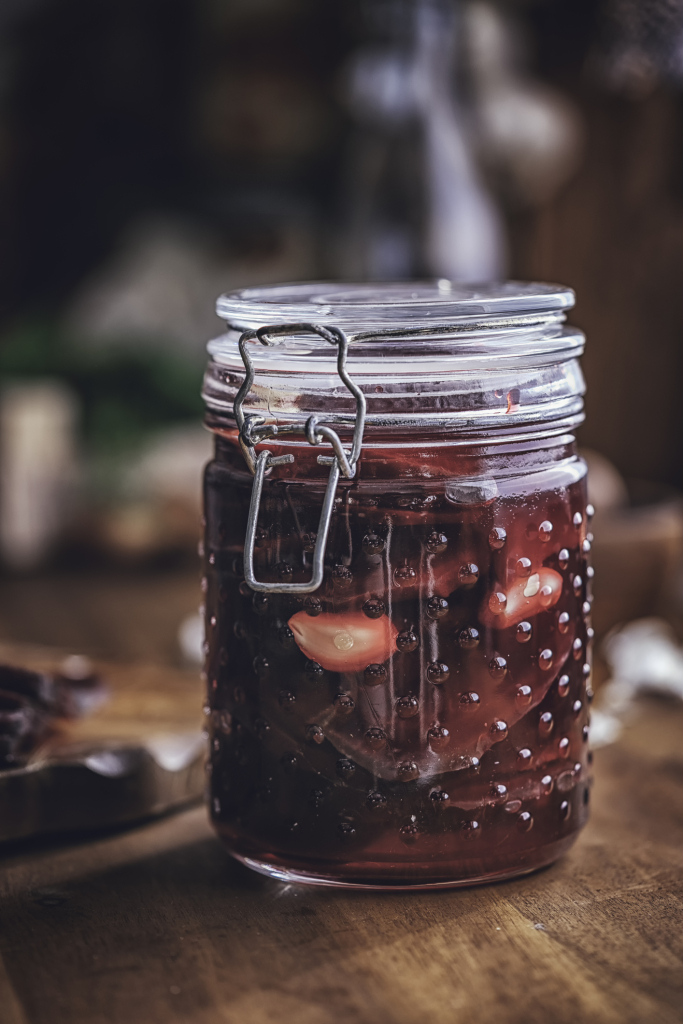
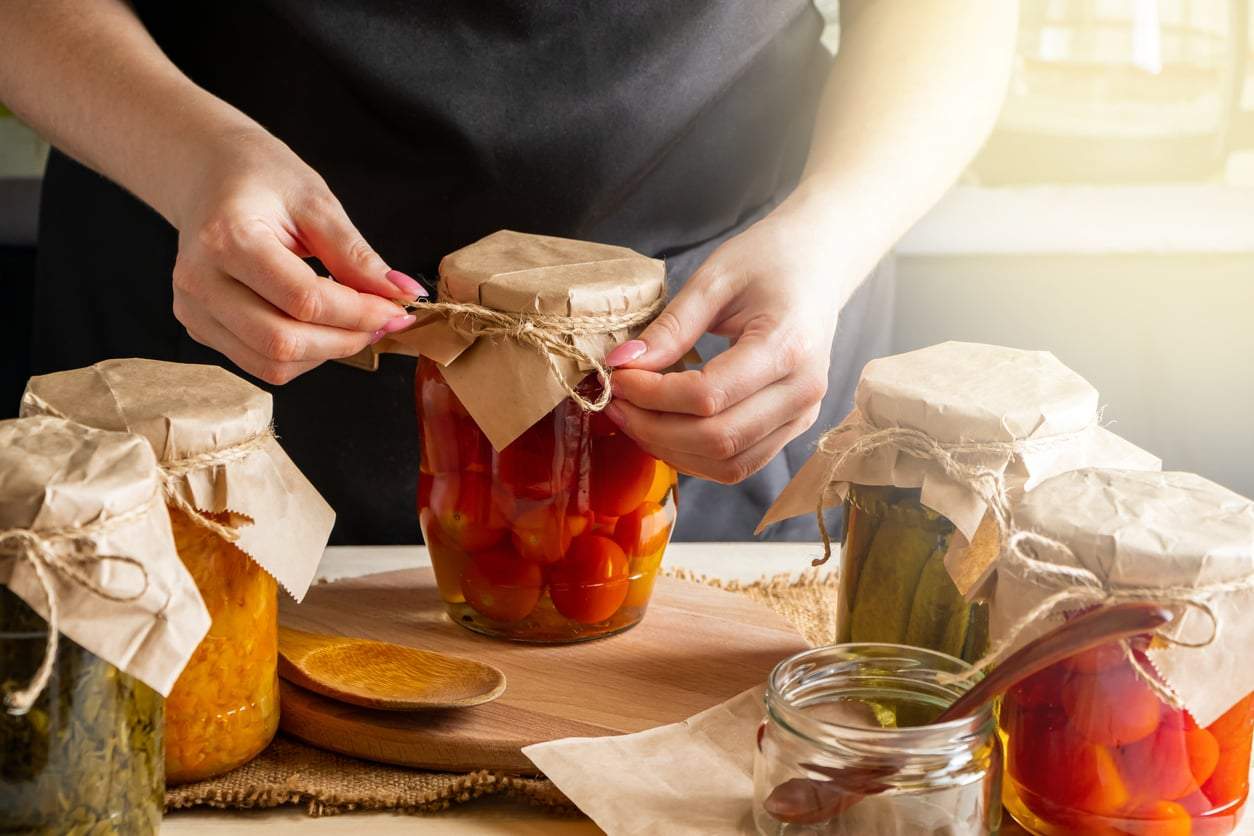
Once everything’s ready and well-seasoned, seal the jar tightly. Then place it in a warm bath. If you’re wondering how to do this “warm bath” (or “dunszt” in Hungarian), don’t worry—it sounds complicated but it’s not. After sealing, turn the jar upside down for 5–10 minutes to help create a vacuum seal. Then wrap the jars in a blanket and let them cool slowly for 1–2 days. This wrapping helps slow the cooling process and forms the vacuum seal, which is key to preserving your crunchy beets. This isn’t folklore or superstition—it’s a natural, temperature-controlled preservation technique that keeps your pickled beets fresh for months when stored in a cool, dark place.
Follow these tips, and you’ll end up with perfectly crunchy beets that taste way better than store-bought, plus they’re completely free of preservatives, natural, and delicious! I’m sure you’ll whip them up in no time, much to your family’s delight!