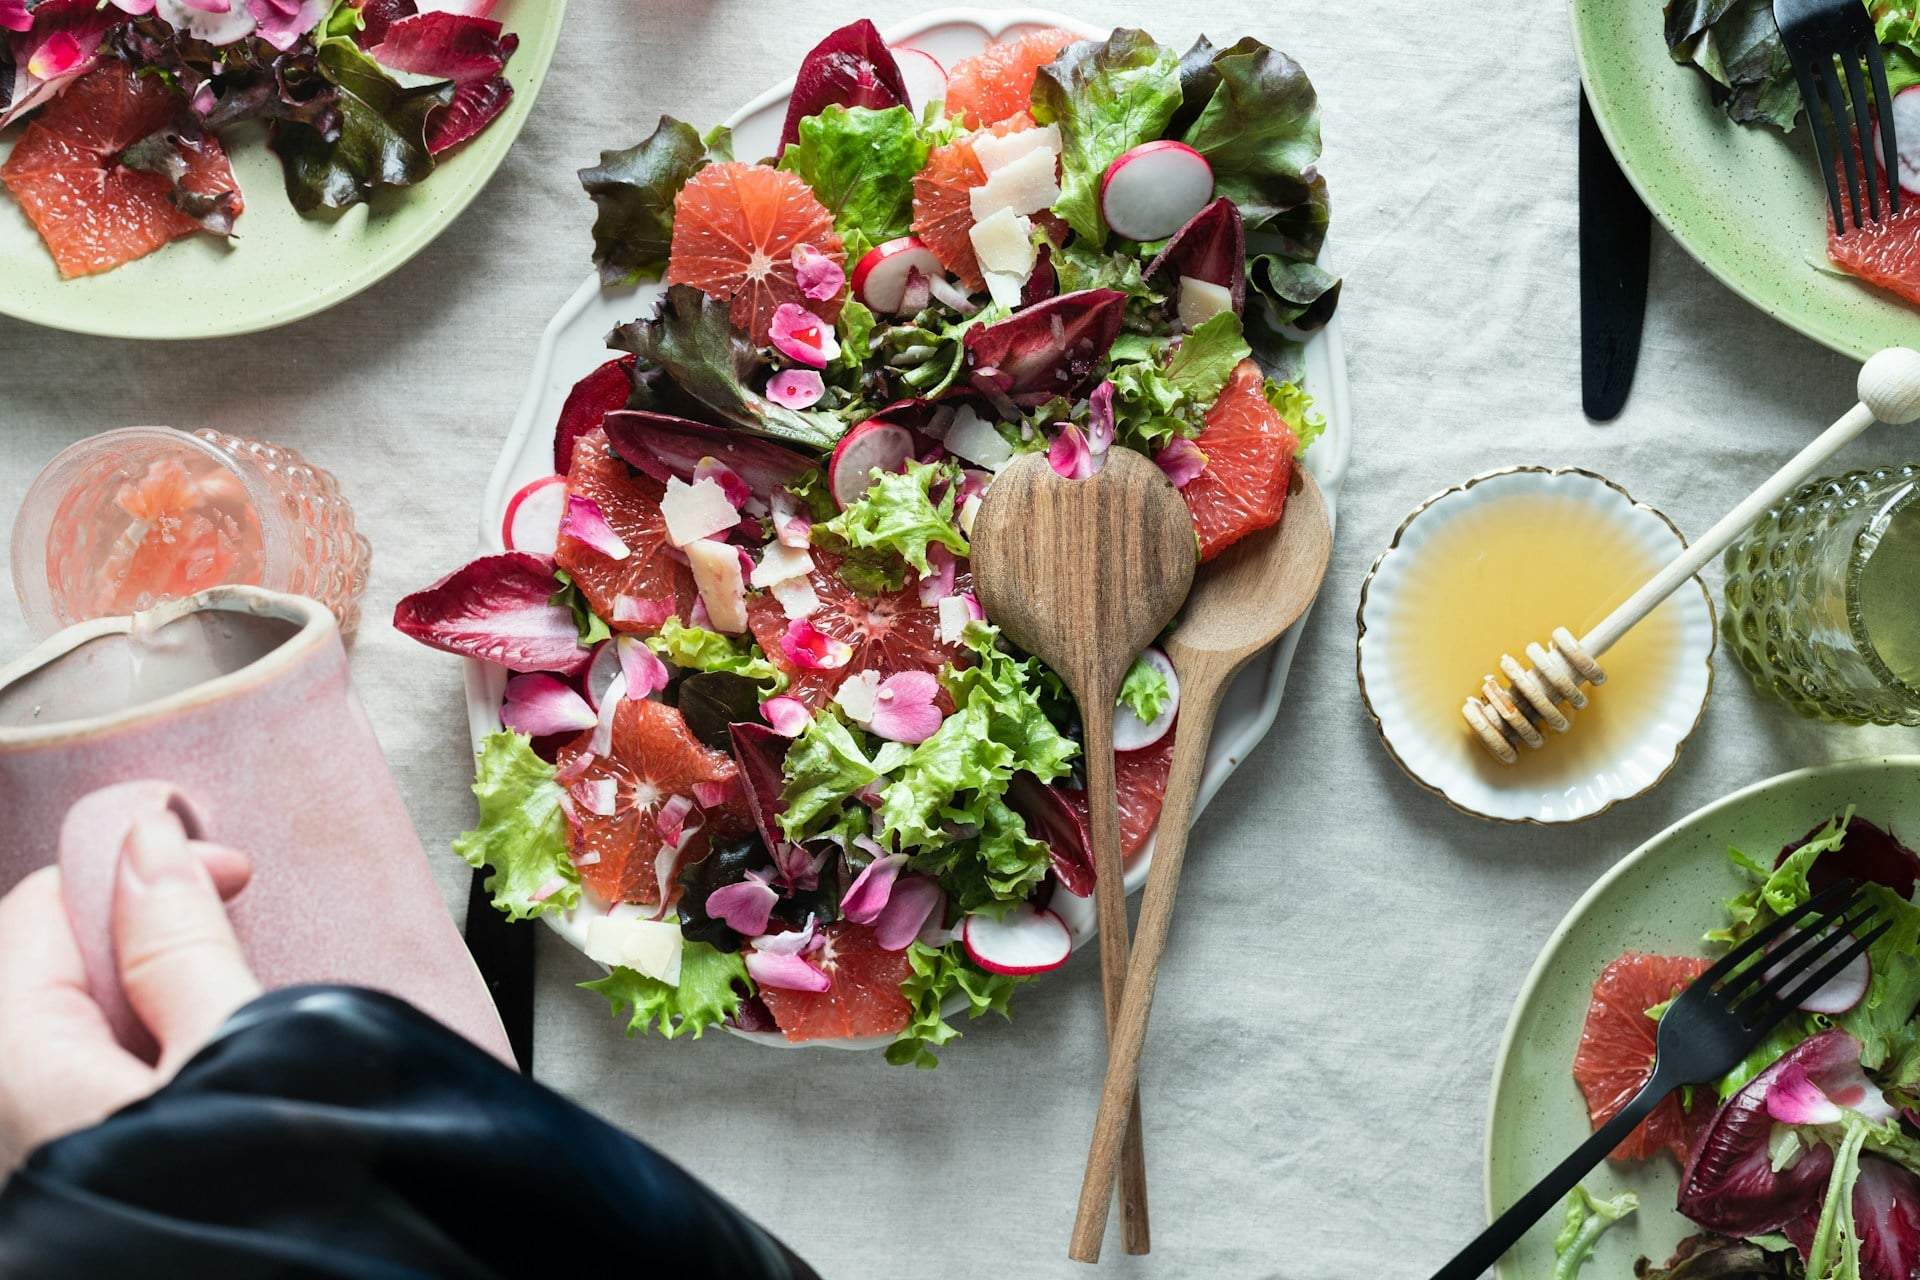
Fermentation isn’t just a passing food trend—it’s one of the oldest, healthiest, and most natural ways to preserve vegetables while keeping them tasty and nutrient-rich.
Recently, The Guardian highlighted how simple fermentation really is with expert advice: all you need are clean jars, good-quality salt, water, and a little patience to get started. We’ll walk you through the exact steps and explain why fermenting could be such a great choice!
Why Ferment?
Fermentation is more than just a preservation method—it’s a living process. Beneficial bacteria (mainly lactic acid bacteria) naturally break down the sugars in vegetables, creating tangy flavors and probiotic compounds. The result? Food that’s richer in taste, nutrients, and health benefits.
“Fermentation is a wonderful way to breathe new life into garden surplus—but it’s important the vegetables aren’t spoiled,” says Connor Wilson, chef at The Kirkstyle Inn in Northumberland.
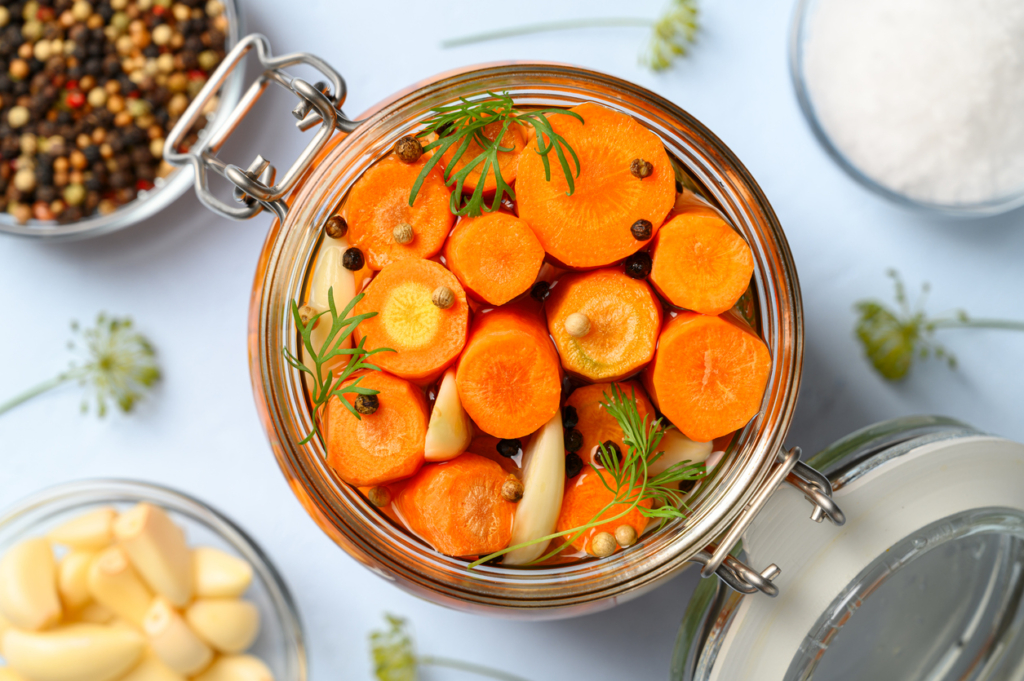
Fermented Carrots Are Surprisingly Delicious!
If you’re new to this world, cookbook author Olia Hercules recommends starting with carrots. “Slightly wilted but not spoiled carrots are ideal—their sugars concentrate, giving an even more intense flavor,” she explains. Plus, carrots are sturdy, easy to handle, and almost fail-proof.
Step-by-Step Guide:
Preparation:
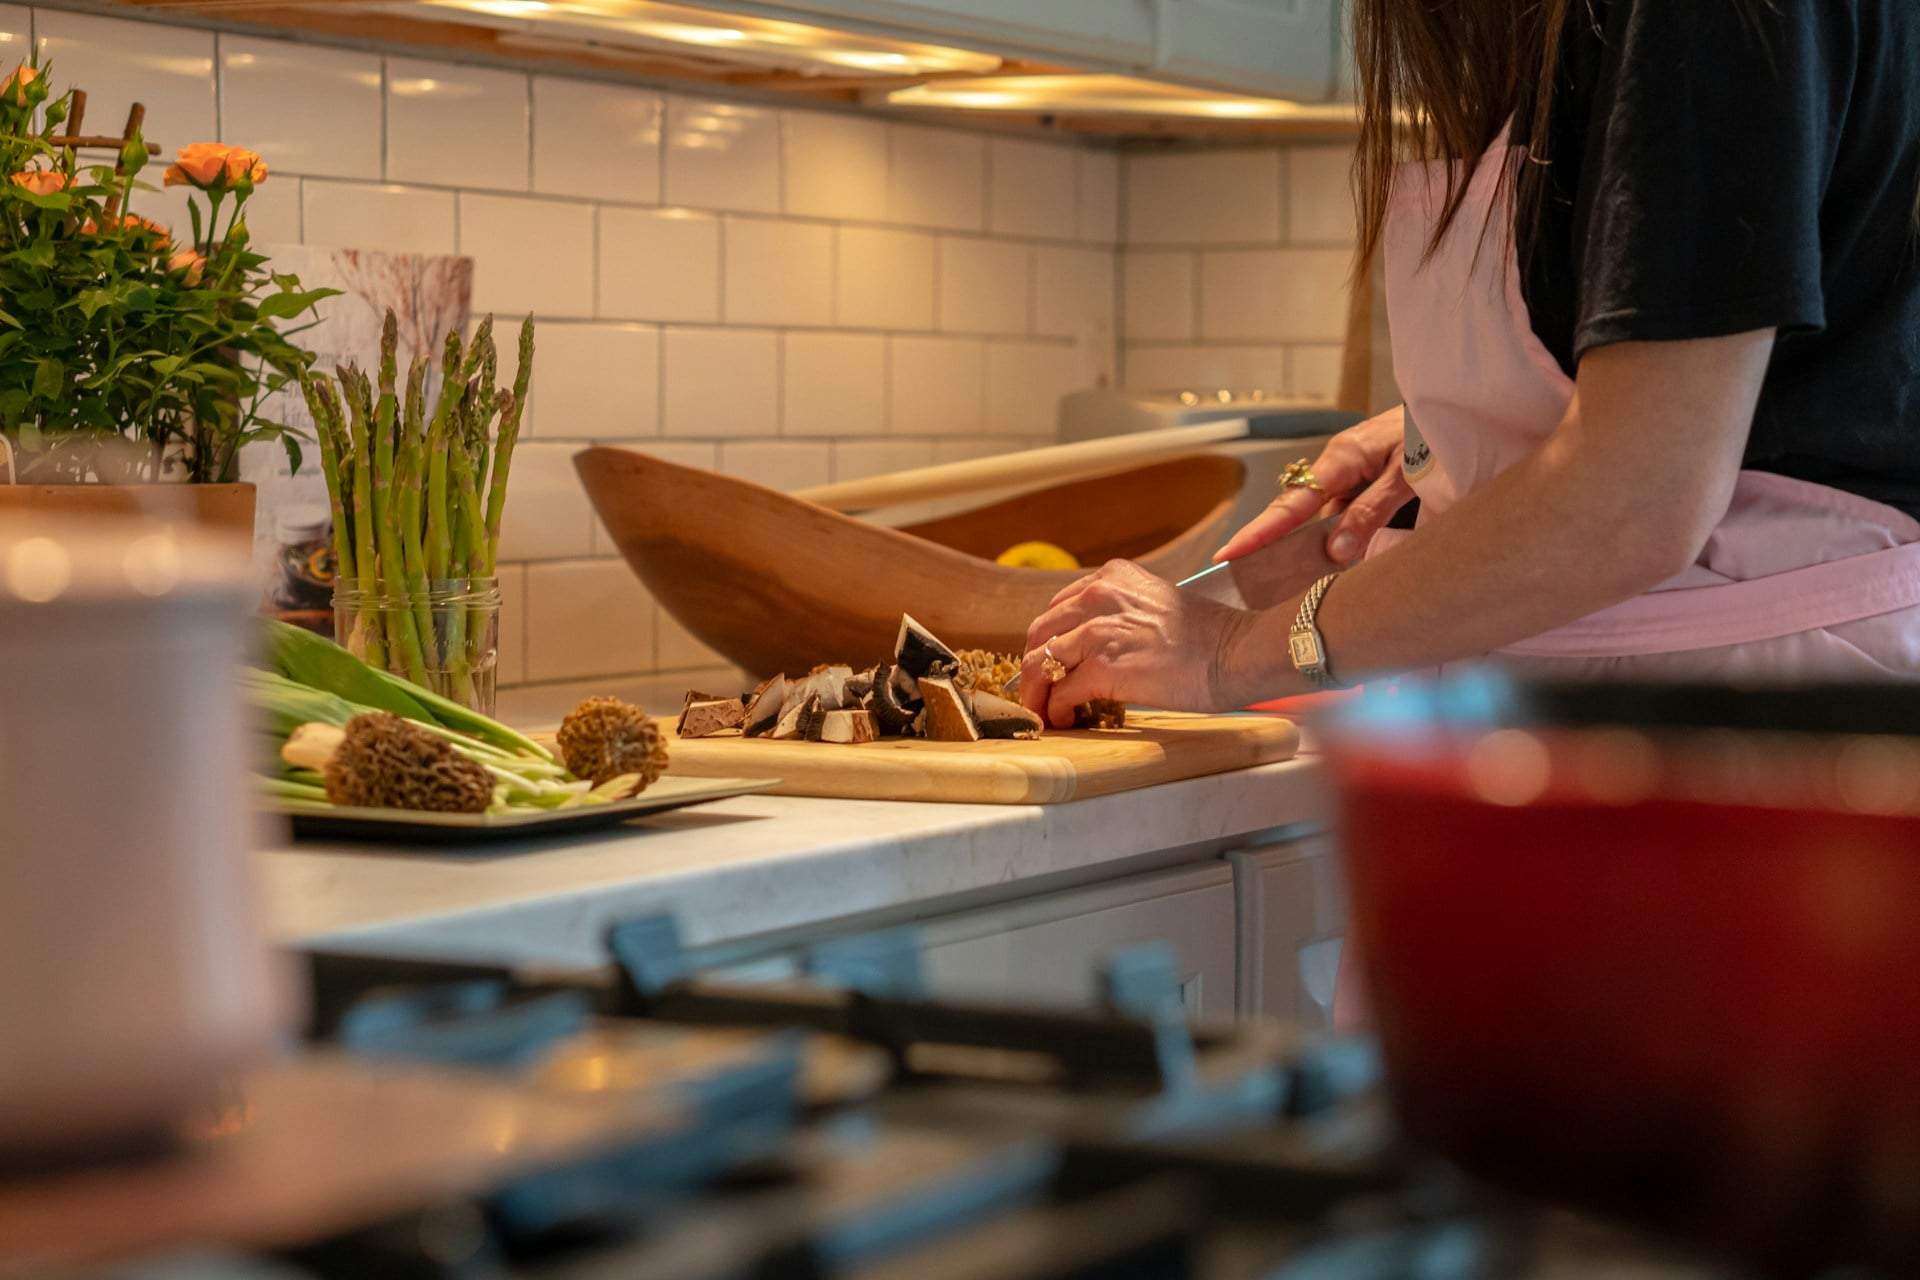
Peel and slice the carrots—thinner slices ferment faster.
Brine:
Dissolve 35 g of sea salt or rock salt in 1 liter of water. (Tap water works, but filtered is even better.)
Seasoning:
Add spices to taste—peppercorns, coriander, allspice, fennel, or chili if you like a bit of heat.
Heat Treatment:
Boil the salty water, then let it cool to room temperature.
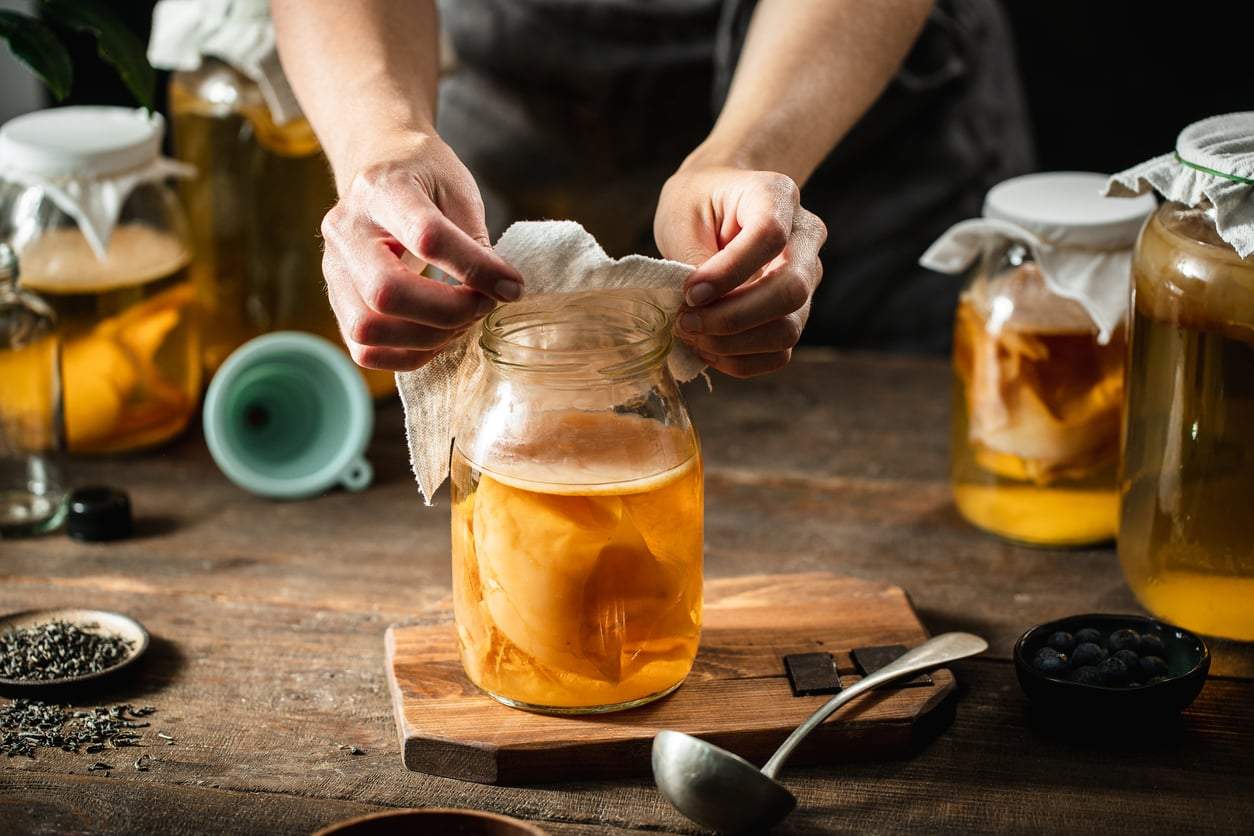
Fermentation:
Place the carrots in a clean jar, pour the brine over to cover all pieces, then loosely seal.
Tip: Keep the vegetables submerged under the liquid during fermentation to avoid mold.
After a few days, the magic begins: the brine turns cloudy, tiny bubbles appear, and the flavor gradually becomes tangier. Once you’re happy with the taste, refrigerate it to slow fermentation—and voilà, your first homemade fermented delight is ready!
Japanese Inspiration: Asazuke
According to Japanese fermentation expert Yoko Nakazawa, cabbage, napa cabbage, and daikon radish are perfect for beginners. “In Japan, there’s a type of pickle called asazuke, meaning ‘lightly pickled,’ made by rubbing cut vegetables with 2-3% salt by weight,” she explains.
These Japanese pickles are ready within hours or overnight and, unlike classic fermentation, are less sour, crisp, and refreshingly fresh. Serve them as a side dish, in salads, or alongside ramen—each bite bursts with pure natural energy.
Cleanliness, Awareness, Patience
The key to success boils down to three words: hygiene, attention, and calm.
“Always sterilize jars and tools with hot water, then let the good bacteria do their work,” advises Nakazawa.
Listen to your senses:
- The smell should be tangy but pleasant,
- The vegetables should be bright and crunchy,
- The brine should gently fizz like a sparkling drink.
If all this checks out, you’re on the right track.
Finally, remember: fermentation is also a mindful practice. “I always speak kindly to my ferments,” Nakazawa laughs. “For me, it’s real mindfulness.”
A Pinch of Nature, a Dash of Patience, and You Can Be a Pro
Fermentation is so much more than a kitchen technique: it’s a connection to nature and yourself. The process unfolds at its own pace and teaches patience—not just with food, but with yourself. Start today, and soon you might only crave pickles you’ve made yourself!