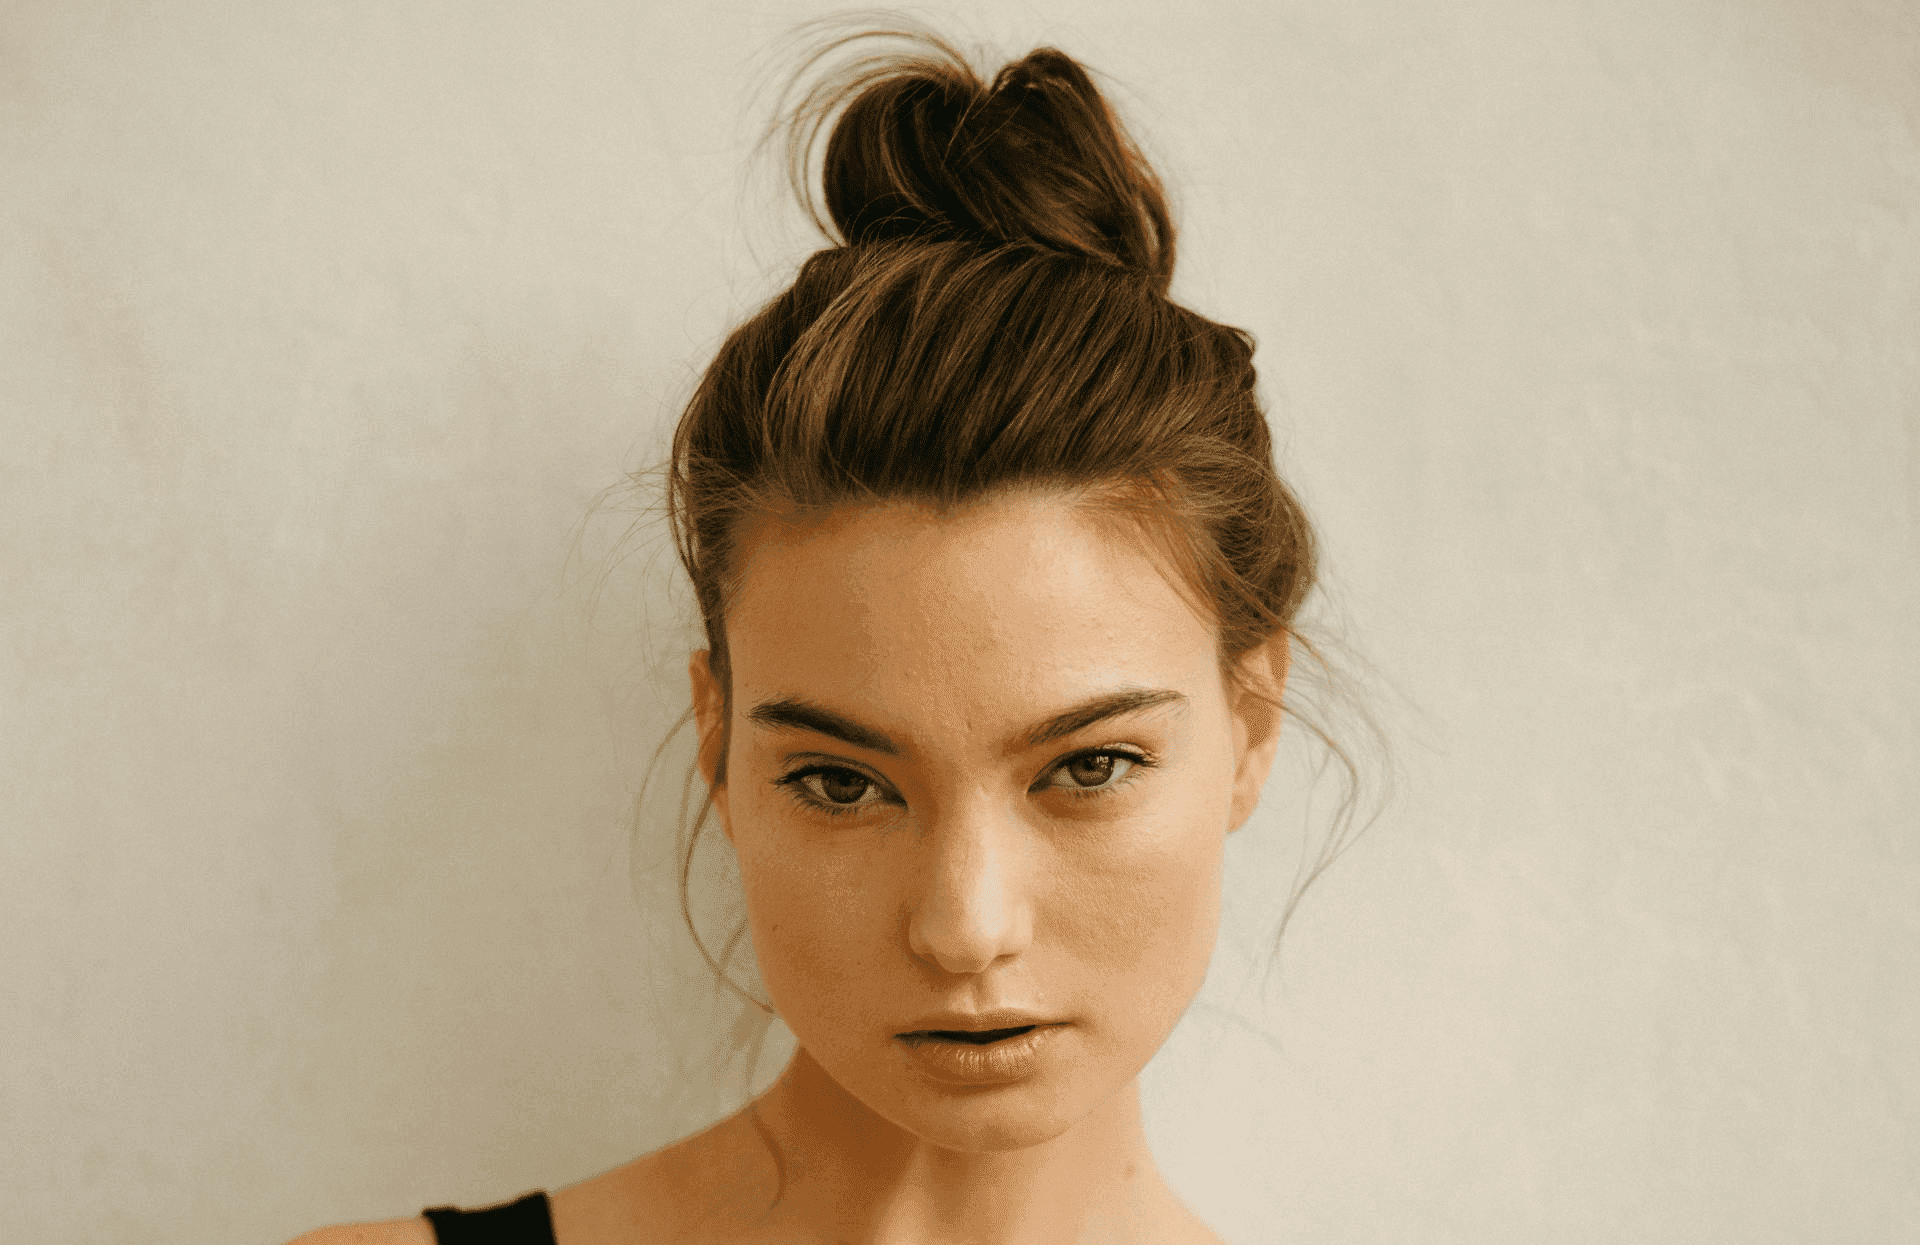
A bun is one of the easiest ways to create a flawless look, taming even the messiest, most stubborn hair. With a few accessories or a fun braid twist, you can craft a hairstyle in minutes that looks freshly done by a pro.
Recently, several video bloggers have shared how to create the bow bun, and there’s no better time to try this hairstyle than on Christmas Eve.
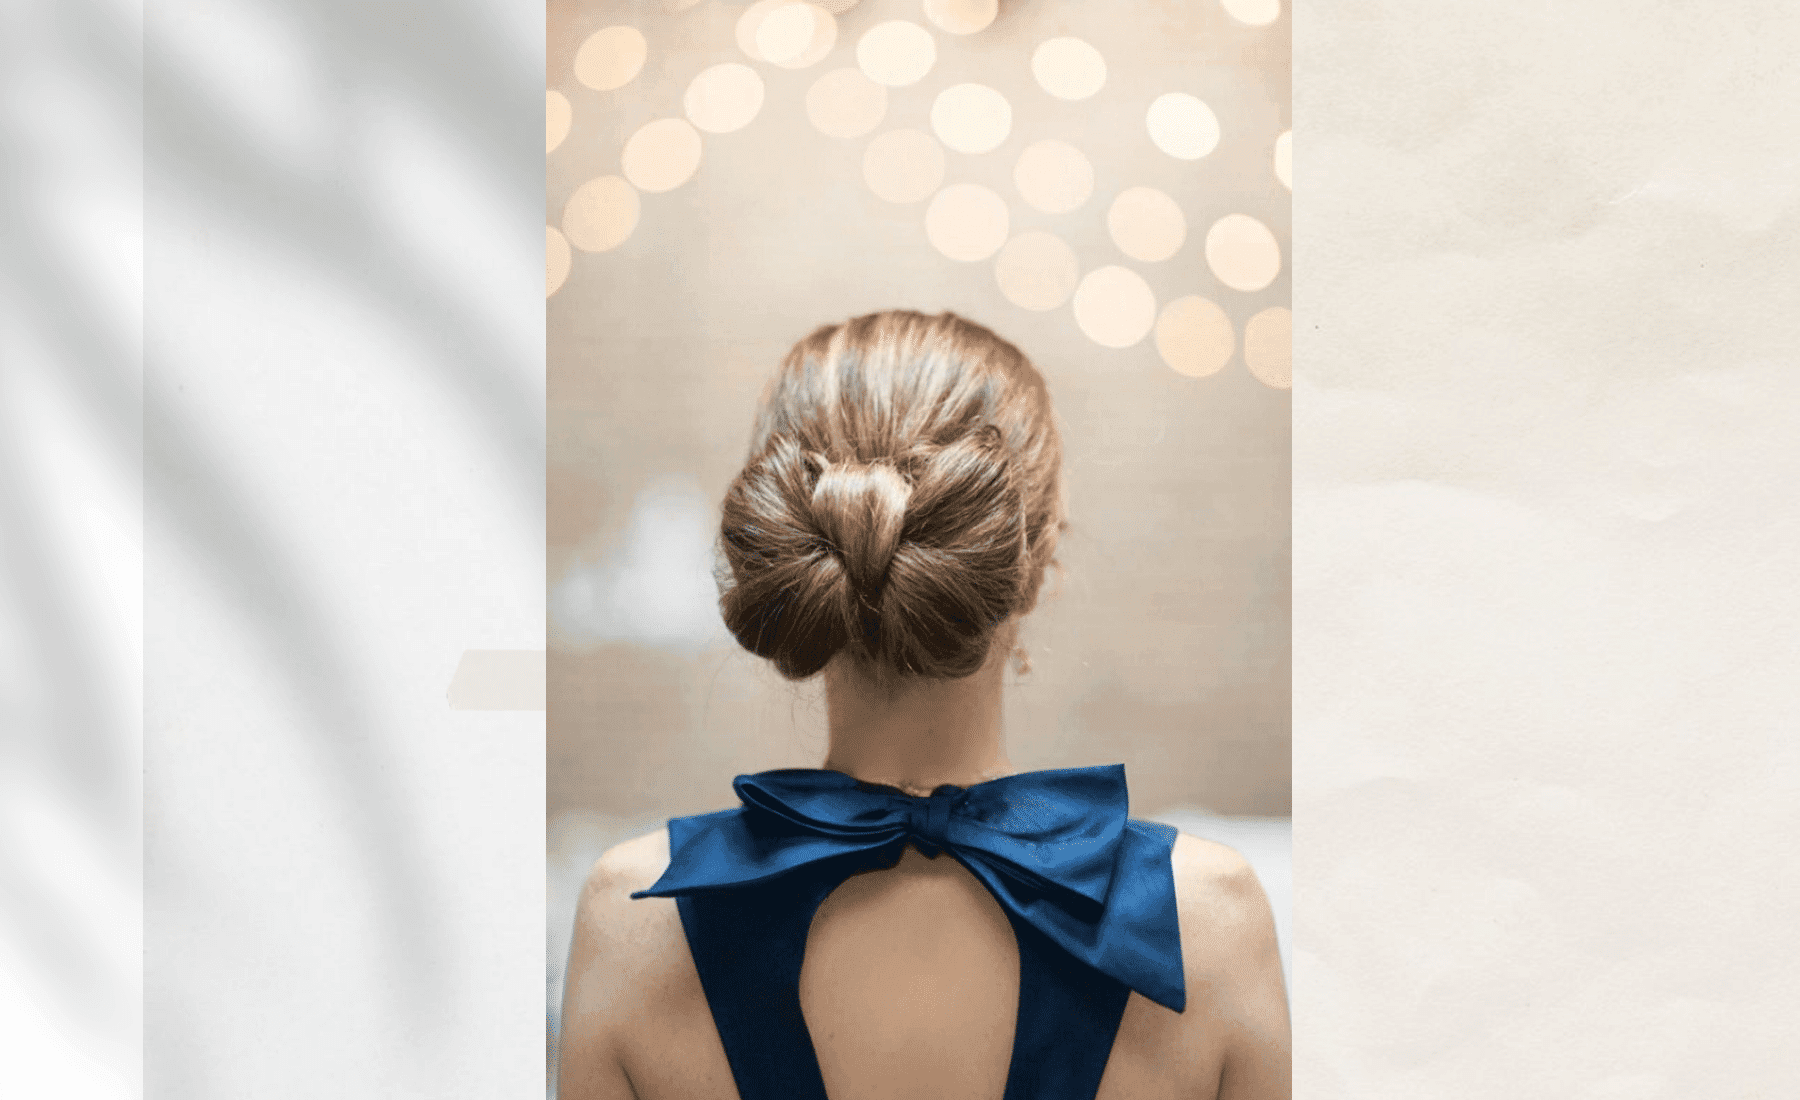
The simplest version, step by step
1. Your hair will look best if it’s straight. No need to flat iron it, but definitely brush it well; otherwise, the bow’s sides won’t curve nicely.
2. Gather your hair fairly high on your head or at the back. Make sure the hair tie is visible from the front—otherwise, the bow won’t show properly. If you have bangs, you can leave them, or pin them back if they might bother you during the evening.
3. When tying your ponytail, don’t pull the last loop through the hair tie. Leave it as if you’re about to make a bun. The loose ends should face your face for now—this will become the center of your bow.
4. For the bun, leave as much volume as you want for your bow. If you want a big, eye-catching bun, pull fewer strands through the hair tie. For a more subtle look, go for the middle ground and pull about half of your hair through.
5. Next, look at your bun from the front and split it down the middle. Adjust the strands to form the two sides of your bow.
6. The loose ends facing forward form the center knot of the bow. Since you already have the two loops, just tuck the ends between them and secure with a hairpin at the back.
7. Finally, fix the two sides of the bow by pinning the lower strands on each side with bobby pins. This makes the bow look neat and polished.
8. Finish with a bit of hairspray to keep your quick, yet professional-looking bun in place all evening long.