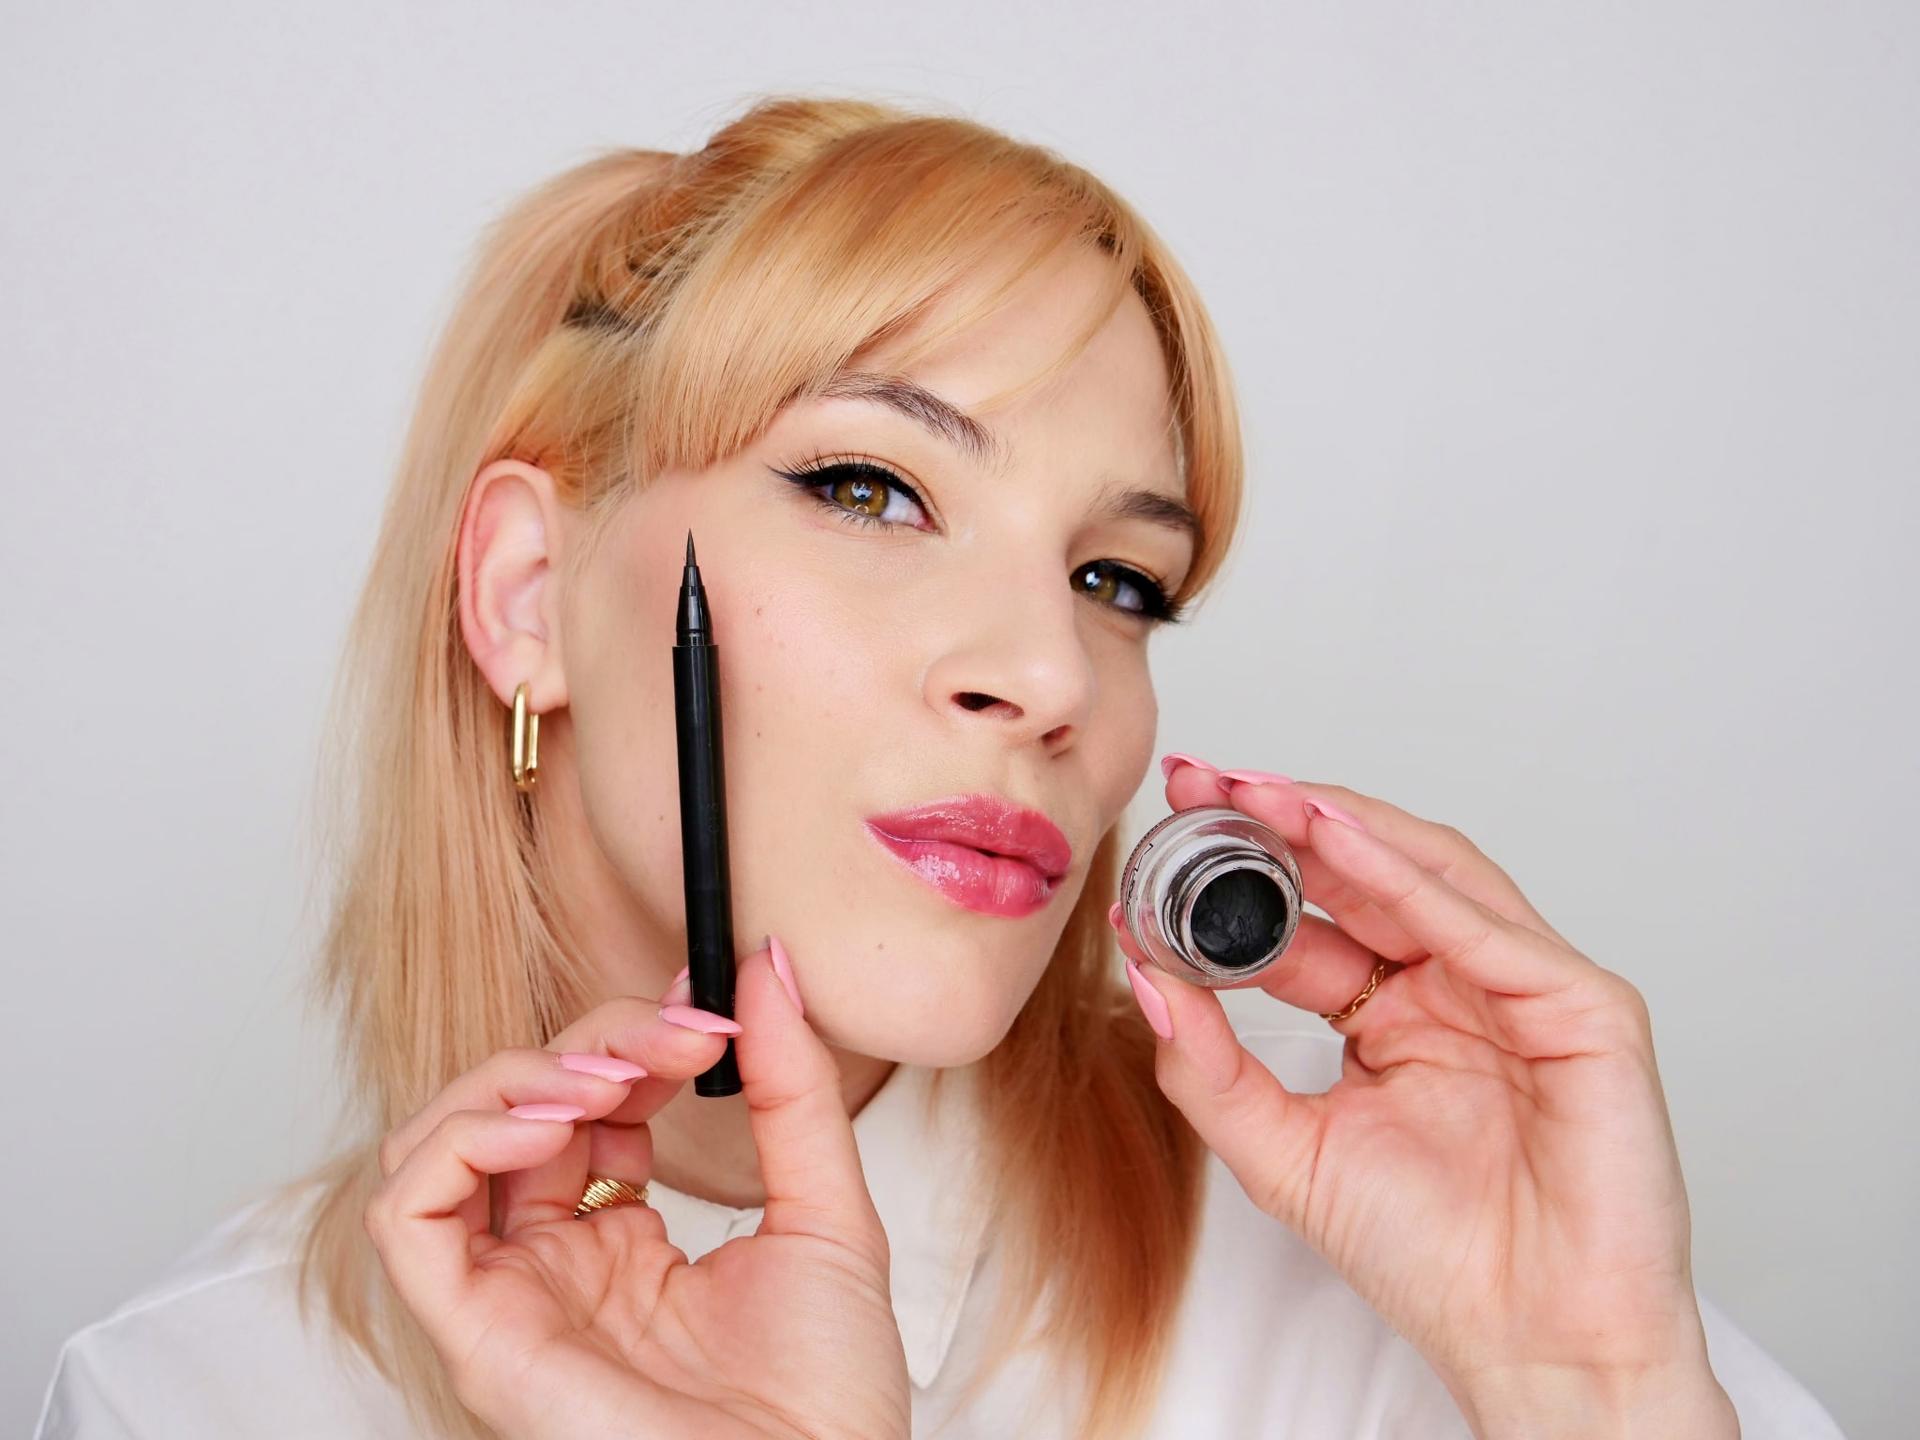
Brush + Gel Eyeliner
1. The key is choosing a brush that lets you draw a very thin line. A brush with a large head makes precise work harder. Also, pick a gel eyeliner that’s creamy enough but dries fairly quickly. Here’s a step-by-step on how I found it easiest to master eyeliner. Remember, there’s no wrong way—go with what feels best for you.
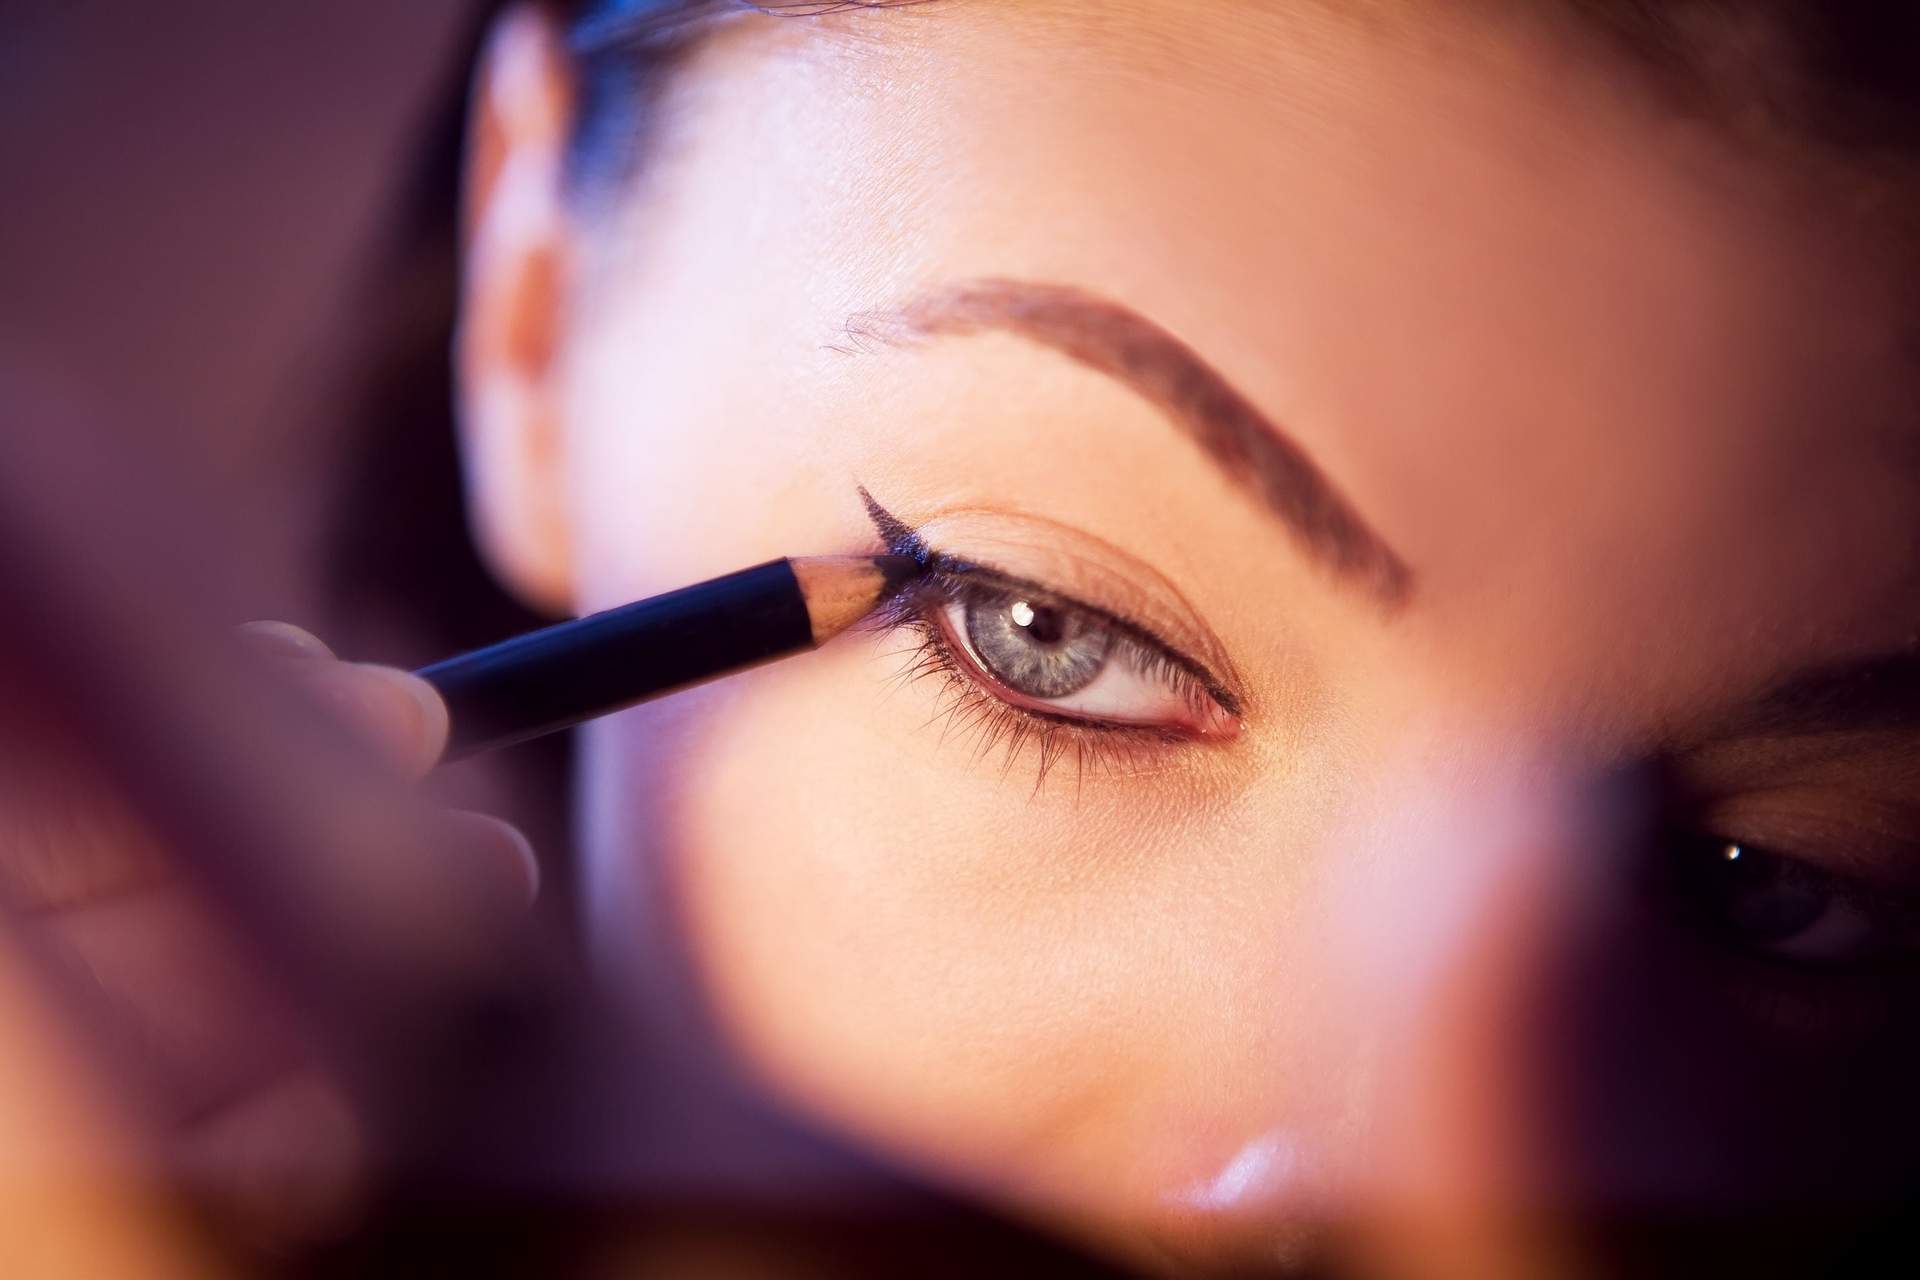
2. Always start the line at the corner of your eye to set the curve of your eyeliner. I find the most flattering arch usually follows the imaginary line extending from your lower lash line toward your temple.
3. After drawing the first line, start from its end and draw inward toward the middle of your eyelid. This defines the thickness of your eyeliner.
4. Then, draw a very thin line from your inner eye corner toward the outer corner, connecting it with the line in the middle of your eyelid.
5. Once done, fill in any gaps so your eyeliner is fully black.
6. It’s totally normal if the area between your lashes looks patchy—you can’t reach that with the brush. If you notice this, grab a black pencil eyeliner and fill in those spots!
Products:
1. MAC Cosmetics Pro Longwear Fluidline Eye Liner and Brow Gel - Blacktrack
2. MAC 210 Precise Eye Liner Brush
3. MAC Eye Kohl - Feline
Felt Tip Eyeliner
If you choose a felt tip eyeliner, you’ll follow the same steps as with gel eyeliner, but without needing a separate brush. The perks? No brush cleaning and usually a very precise tip. Felt tip liners often deliver a deeper black and a slightly shinier finish than gels, so if you want a bold, eye-catching look, these are your go-to products.
Product: MAC Cosmetics Brushstroke 24 Hour Liner