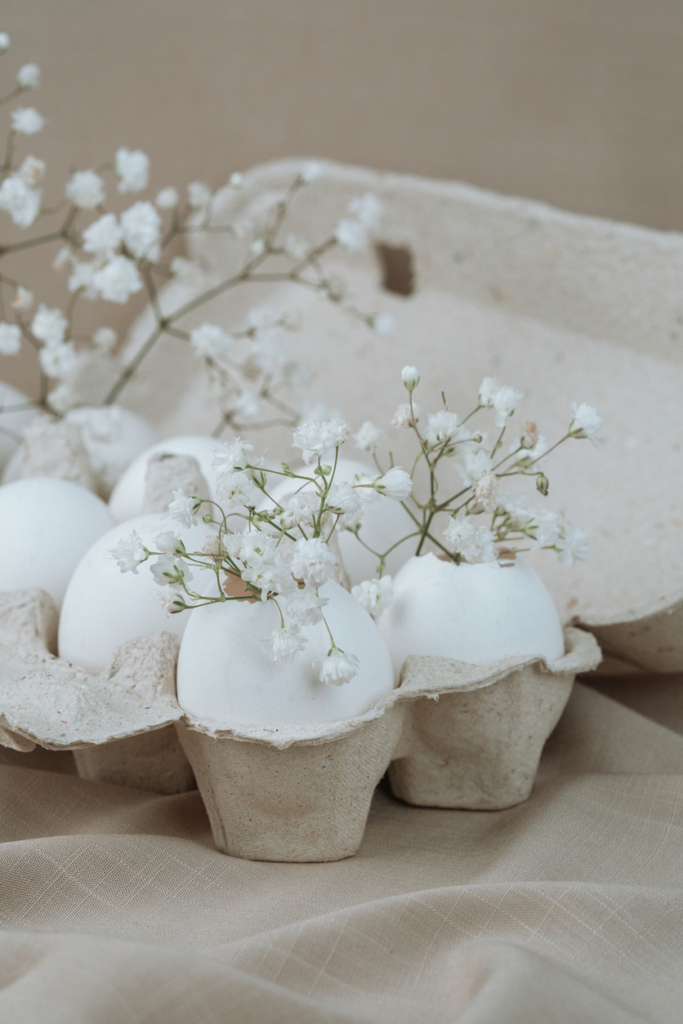
Decorated eggs are a classic Easter decoration, but here’s the catch: if you use hard-boiled eggs, they only look good for a few days before becoming more of a hassle on your festive table. Blowing out the egg, however, preserves the shell for years—giving you a light, durable, and beautifully paintable base. The process isn’t complicated, but a few small details can make the difference between success and a sticky kitchen mess.
Why Blow Out the Egg?
A blown-out egg is basically an empty shell that doesn’t need refrigeration and won’t spoil. It’s also much easier to work with. This method is popular for decorations you want to keep for years—like Easter ornaments or hanging eggs.
What You’ll Need
You don’t need fancy tools to blow out eggs, though there are special gadgets available. For the basic version, just grab a few kitchen staples:
- raw eggs
- needle or thin knife
- straightened paperclip
- a bowl
- optional: rubber bulb pump (like a medicine syringe)
Step-by-Step: How to Do It
Make Two Holes in the Egg
Carefully poke holes at the top and bottom of the egg with a needle or knife. Make one hole a bit bigger—that’s where the inside will come out. Lightly scratching the shell surface first can make drilling easier.
Break Up the Yolk
This step is often skipped, which is why some get stuck trying to blow out the egg. Use a straightened paperclip to reach inside through one hole and break up the yolk.
Blow or Pump Out the Egg
Hold the egg over a bowl with the bigger hole facing down. Then either blow gently into the smaller hole or use a rubber pump to create pressure. The egg’s contents will flow out nicely. This part isn’t the prettiest, but it works.
Rinse the Shell
Once empty, rinse the eggshell with water to remove leftover whites and yolk that could cause odor later.
Let It Dry Completely
Set the shell aside in a well-ventilated spot. Only start decorating when it’s fully dry.
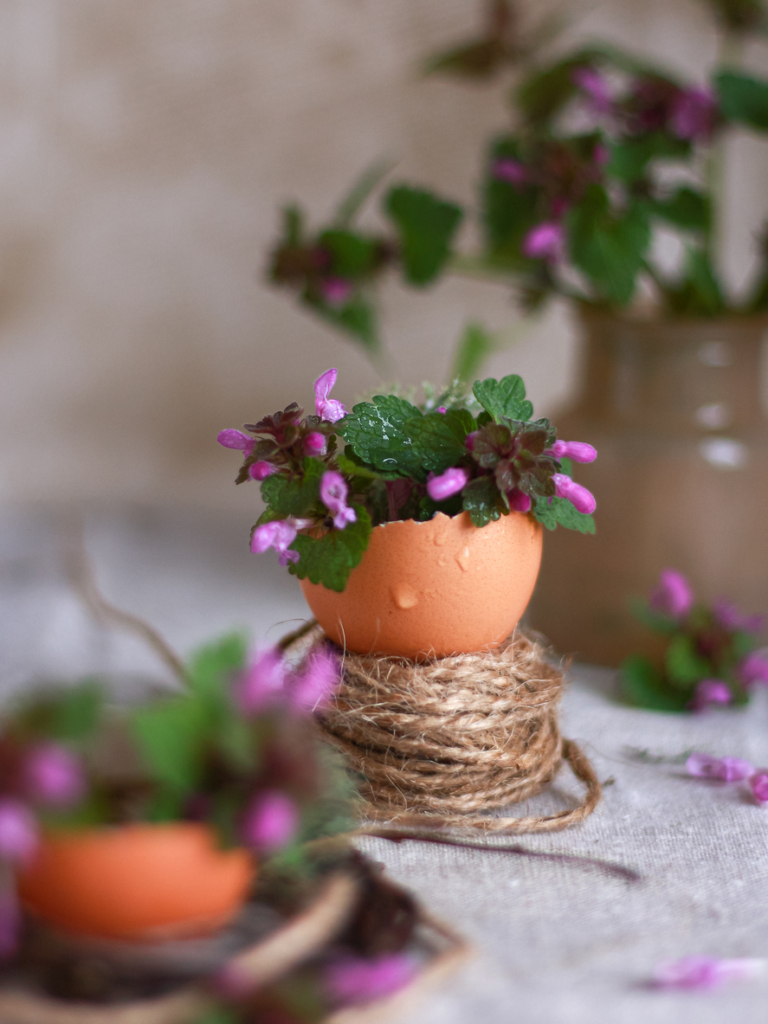
How to Turn It into Lasting Decor
Once dry, you can do almost anything with the eggshell: paint it, draw on it with markers, stick on decals, and even varnish it for extra durability. To hang it, thread a thin string or ribbon through one of the holes—it’s already there for you.
Common Mistakes
Most problems come from impatience, not technique. Trying to blow too fast, skipping the yolk break-up, or not letting the shell dry properly are all easy to avoid. Just pay attention and take your time blowing out the eggs—your decorating will be way more enjoyable.
Blowing out eggs isn’t a tricky craft—think of it as a basic skill. Done right, you get decorations that last much longer and are more practical than hard-boiled eggs. The best part? No special skills needed, just a little care—and accept that your first few might not be perfect. Once you get the hang of it, egg blowing becomes a breeze.