Start with a Little Preparation
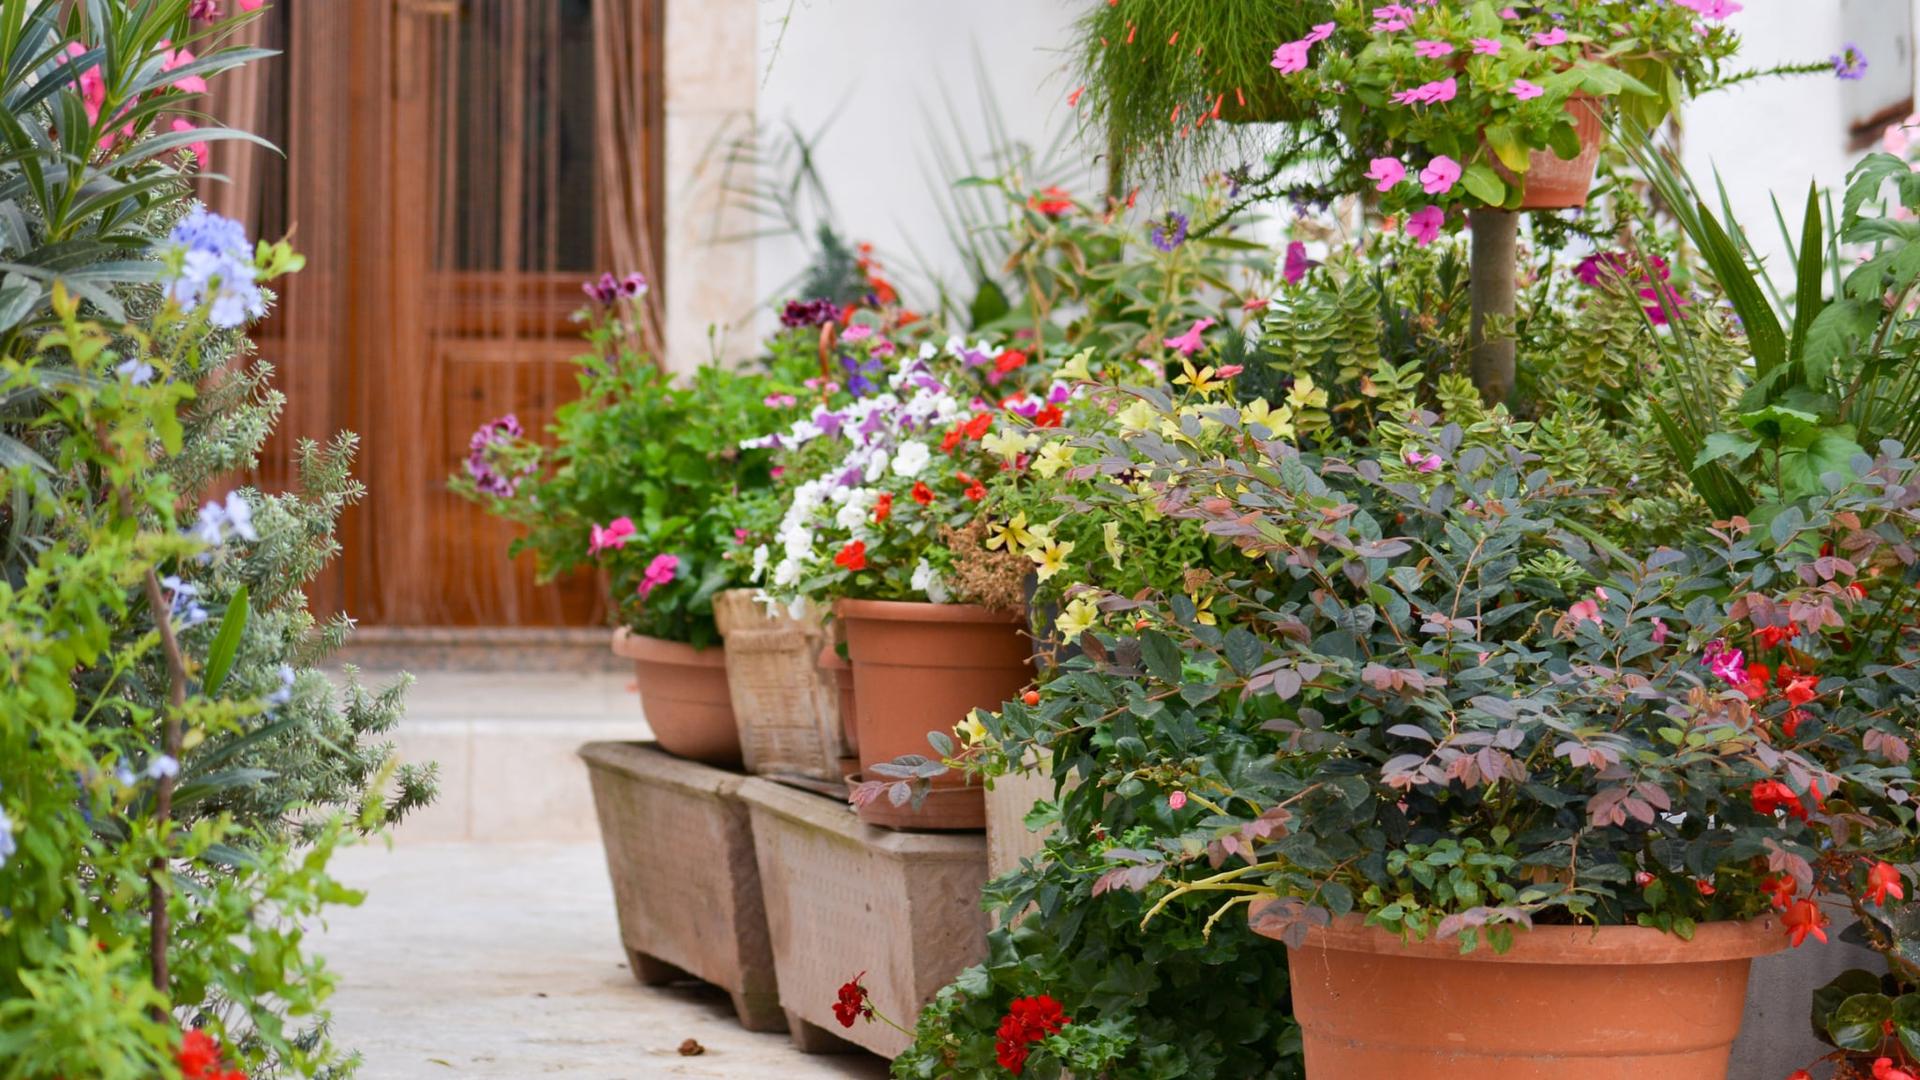
Before you start planting in a large flower box, it's worth considering a few things. First, decide what your goal is with the flower holder. Do you want it to be easily movable - for example, if you want to relocate it seasonally or move it to a more sheltered place in winter? In this case, it's worth choosing light, recycled materials for the bottom of the box so it won't be too heavy.
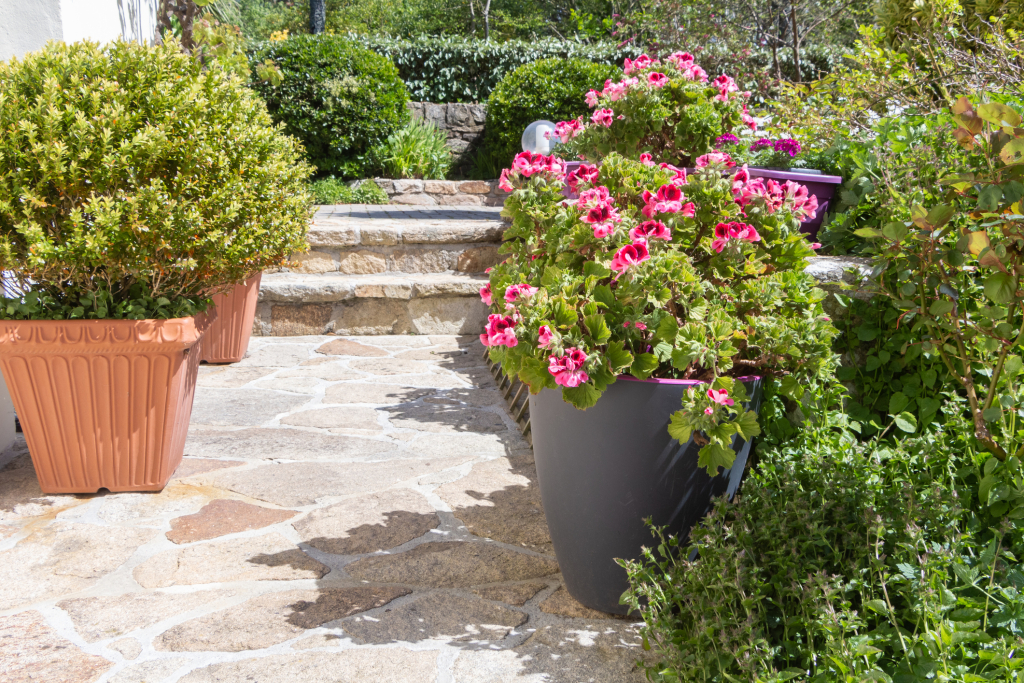
If, however, you are thinking of a larger, stable placement - for example, next to the front door, in the corner of the balcony, or on the terrace - then because of wind and weather conditions, it might be important that it cannot tip over. In such cases, use heavier, more solid materials at the bottom to ensure it stands firmly.
Also, consider the type of plants. A tall ornamental grass or a columnar thuja, for example, can tip over much more easily in the wind than a low, bushy flower - so this can also influence what filler material you choose.
Although it takes a bit more time than jumping straight into the work, if you prepare well, you can save not only time and money but your plants will also feel better in a properly designed flower holder.
If You Choose from Light Materials
- Plastic pots: Use old plastic pots placed upside down at the bottom of the container. You can insert a larger one or place several smaller ones side by side.
- Styrofoam: Lightweight and breaks up the space well. You can use whole blocks or smaller pieces.
- Bubble wrap: If you have leftover bubble wrap, it can also be good for filling space. Just make sure it doesn’t block the drainage holes!
- Milk or water bottles: One or two empty plastic bottles can also be used as fillers, especially for wider boxes.
- Pine cones: If you want a natural, biodegradable solution, pine cones can be a great choice! They compost over time, but you should expect to refill the container each season.
If You Choose from Heavy Materials
- Bricks or paving stones: If you want the box not to tip over, simply place some bricks or paving stones at the bottom.
- Larger stones: Some larger stones (or river pebbles) also make the box more stable and help with drainage. Coarser gravel can also work.
- Broken pottery shards: Pieces of old, broken clay pots can also be useful; a layer at the bottom of the box helps drainage and reduces the amount of soil needed.
What to Always Watch Out For
It is important to know that if you put any material at the bottom of the flower holder (for example, styrofoam, plastic bottles, or stones), you raise the water level of the potting soil. This means water can more easily get trapped near the roots, which can cause root rot.
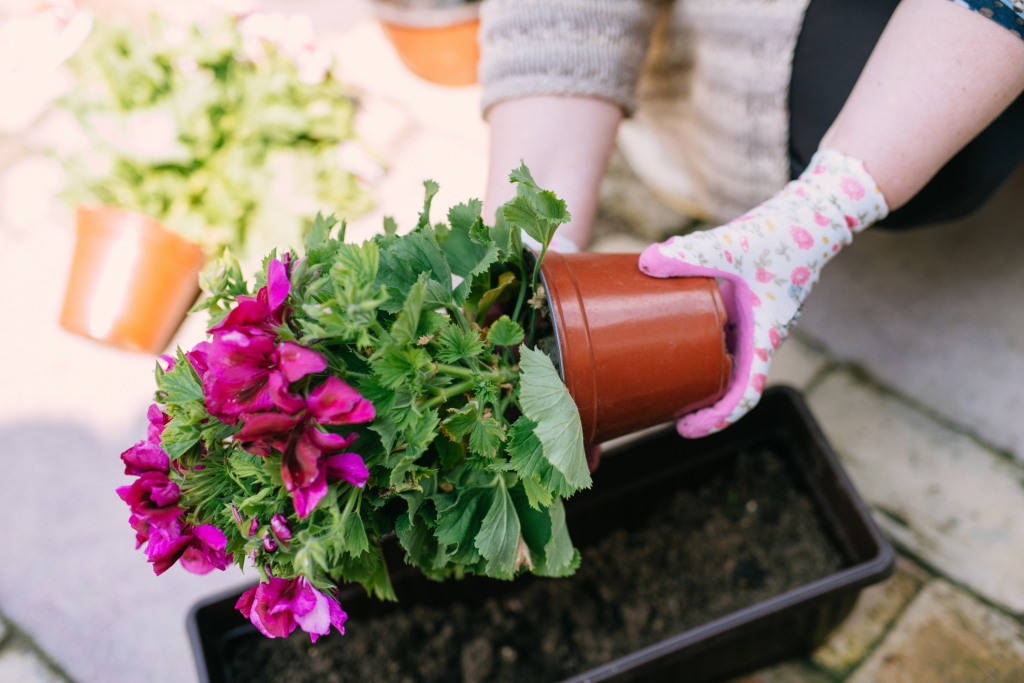
To prevent this, always ensure there is a sufficient layer of soil under the plant roots - at least a few centimeters - through which excess moisture can escape. This not only helps drainage but also provides more space for roots to grow downward.
Another useful method is to use the flower holder as a decorative container. In this case, place the filler material at the bottom of the large box, then simply put a smaller pot with drainage holes inside it, where the plant itself is. This way, excess water can drain more easily, and the plant is safe from standing water.
It is also very important never to completely block the drainage hole of the flower holder! If water cannot exit, it will accumulate at the bottom and eventually harm the plant. For example, if you use a plastic container as filler at the bottom, drill or cut holes in it so water can flow out freely.
Finally, if you plant something particularly sensitive to overwatering or that requires good drainage (such as Mediterranean or succulent plants), it is worth improving not only the bottom but also the potting soil itself. Mix in perlite, coarse sand, or gravel - these improve soil aeration and reduce water retention.