You've booked the trip, packed your bags — and then it hits you: who's going to water the plants? Before you start calling in favors from neighbors, there's a smarter solution hiding in your recycling bin. A DIY drip irrigation system made from plastic bottles costs almost nothing, takes minutes to set up, and can keep your plants hydrated for days while you're away.
Why plastic bottles are the perfect tool for the job
Plastic bottles are everywhere — water bottles, soda bottles, juice bottles. Instead of tossing them into the recycling, you can give them a second life in your garden or on your balcony.
This isn't just a money-saving hack. Repurposing plastic bottles reduces waste and shrinks your environmental footprint — a small but meaningful win for the planet.
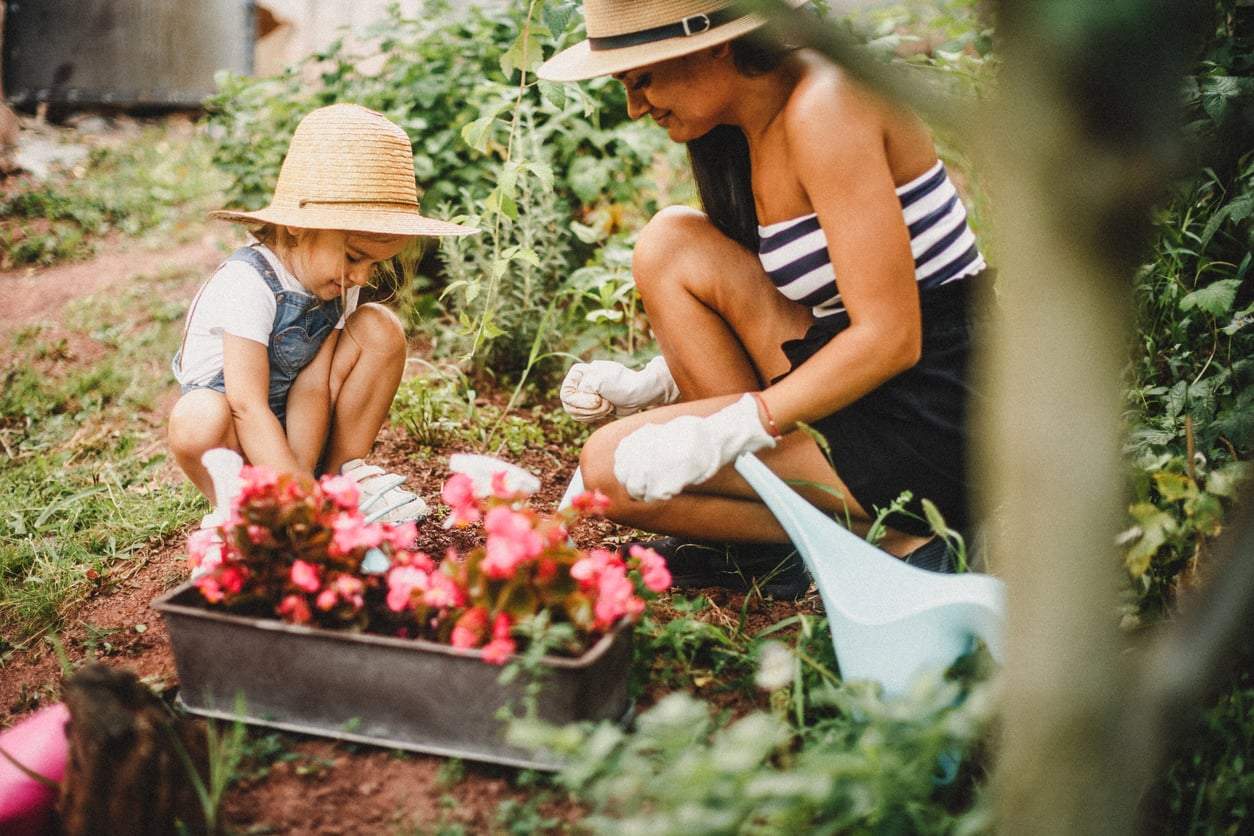
What makes this method so practical is its flexibility. You can easily adapt it to plants of all sizes and water needs — from a small potted herb on the windowsill to a thirsty vegetable patch in the garden. The bigger the plant, the bigger the bottle.
How to build your own bottle drip system — step by step
You don't need any special tools or skills. Just a few empty plastic bottles, a sharp pin or nail, and about ten minutes of your time.
Step 1: Prepare the bottles
Start by rinsing the bottles thoroughly so no residue is left inside. Then use a pin, needle, or thin nail to poke one or more small holes in the bottle cap. The number and size of the holes will control how fast the water drips — fewer, smaller holes for drought-tolerant plants; more or slightly larger holes for thirstier ones.
Step 2: Position the bottles
Fill the bottles with water, screw the cap on tightly, then flip them upside down and place them near the base of your plants so the water drips directly toward the roots. For smaller plants, simply resting the bottle on the soil works fine. For larger plants, you can secure the bottle to a stake or small stand to keep it stable. Check the position before you leave — a full bottle is heavier than it looks and can shift over time.
Things to keep in mind
This system is low-maintenance, but a quick check before you leave will save your plants while you're gone. Make sure the cap holes aren't blocked, and that the drip rate looks right for each plant. A slow, steady drip is what you're aiming for — not a trickle that empties the bottle in an hour.
If you're going away for more than a few days, use larger bottles — 1.5-liter or 2-liter bottles will last significantly longer than smaller ones. You can also place multiple bottles around a single large plant for extra coverage.
Tips to make it even more effective
Want to take it a step further? Fill the bottles with a diluted liquid fertilizer instead of plain water. This way, your plants get both hydration and nutrients while you're away — especially useful during the active growing season or for vegetables that need consistent feeding.
Another handy trick: wrap a thin piece of mesh fabric or a small sponge around the cap before screwing it on. This acts as a filter, preventing soil or roots from clogging the holes and extending the life of your system considerably.