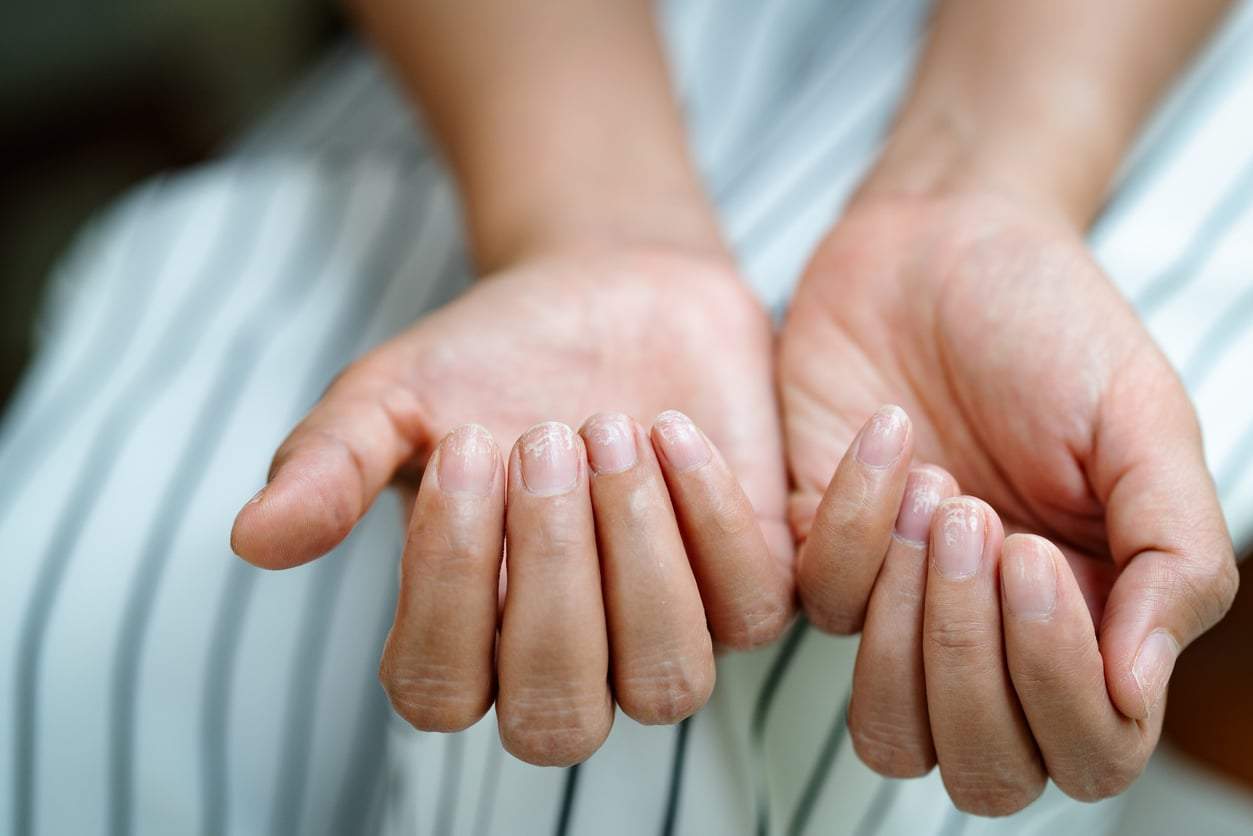
You did everything right — or so you thought — and yet you wake up with streaky ankles, orange palms and patches you can't explain. Sound familiar? Self-tanner promises a flawless glow, but one small slip can leave you looking blotchy instead of beach-ready.
The good news: almost every self-tan disaster comes down to a handful of avoidable mistakes. Master these, and you'll get that even, natural bronze all year round.
What self-tanner actually does to your skin
Most self-tanners work thanks to an ingredient called dihydroxyacetone (DHA). It reacts with the amino acids in the top layer of your skin, and that reaction is what gives you a deeper, tanned shade.
The key thing to understand: this is a harmless surface reaction, not sun damage. You get the color without exposing your skin to UV rays.
Whether you reach for a cream, gel, spray or mousse, the basic idea is the same. The formats differ, but the science behind them doesn't.
How long your tan lasts depends on how quickly your skin naturally sheds — which is exactly why prep and aftercare make or break the result.
The prep step almost everyone skips
If you want a genuinely even finish, preparation matters more than the product itself.
Start by exfoliating. Buffing away dead skin cells leaves you with a smoother surface, so the color grips evenly instead of clinging to rough patches. Once you've exfoliated, don't forget to moisturize — especially the drier zones like elbows, knees and ankles.
Timing counts too. Shower and exfoliate before you apply, so the tan goes onto completely clean, dry skin. That single habit is what saves you from streaks and blotches later on.
How to apply self-tanner the right way
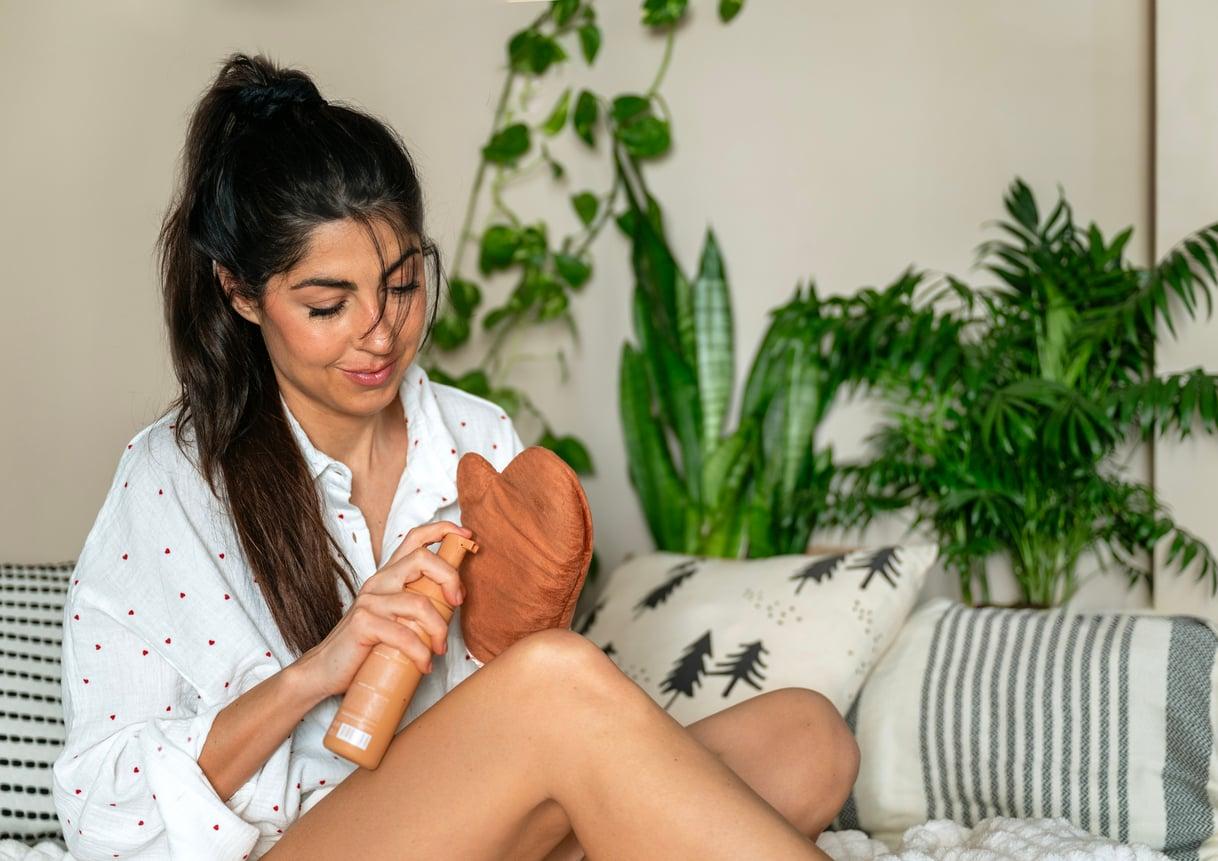
The golden rule is simple: apply it evenly. A dedicated tanning mitt is your best friend here — it spreads the product smoothly and stops your palms from turning that tell-tale orange.
Skip the thick, all-at-once layer. Instead, build up several thin layers. It's far easier to control the depth of color this way, and streaks become much less likely.
Always start from the bottom — your feet and legs — and work your way up. Around the joints, like your elbows and knees, go easy on the amount, because these areas soak up color fast and darken more than the rest.
For your face, choose a formula made specifically for it — facial skin is more delicate than the rest of your body.
The most common mistakes — and how to fix them
The biggest slip-ups? Using too much at once, and not giving the tan enough time to dry.
Always let it dry fully before getting dressed, especially if you're wearing light colors. And remember that not every skin type behaves the same way — what works perfectly for a friend might need tweaking for you.
Always patch-test a small area of skin before applying the product all over.
And if it does go wrong? Don't panic. Fixing self-tan patches is easier than you'd think. A little lemon juice or baking soda can help lift the discoloration, but the most reliable fix is gentle, gradual exfoliation.
Treat these products with a little care, and you can enjoy that sun-kissed glow all year long — no beach required.
Why does self-tanner turn skin orange?
An orange tone usually comes from applying too much product at once. Building up several thin layers instead of one thick coat helps you avoid it.
Why do my palms and elbows go so dark?
Areas like the palms, elbows and knees absorb more color and darken faster. Use a tanning mitt for your palms and apply less product around the joints.
How can I fix a streaky or patchy self-tan?
Lemon juice or baking soda can help lift the discoloration, but gentle, gradual exfoliation is the safest and most reliable method.
Do I need a special product for my face?
Yes. Facial skin is more delicate than the rest of your body, so it's best to choose a self-tanner formulated specifically for the face.