Making crepes looks effortless — until you're wrestling with a stuck, rubbery mess in the pan. The good news? A few small adjustments make all the difference. Once you know what actually matters, every single crepe comes out thin, soft, and perfectly golden.
The batter ratio that always works
A reliable classic crepe batter isn't complicated: roughly 2 cups (250 g) of all-purpose flour, 2 cups (500 ml) of whole milk, 2 eggs, a pinch of salt, and a tablespoon of melted butter or neutral oil. This ratio gives you a smooth, pourable batter — thin enough to spread easily in the pan, but not so runny that it falls apart.
Always sift your flour first. Lumps that form early are nearly impossible to whisk out later. For the smoothest results, whisk together the eggs and milk first, then gradually add the flour — rather than dumping everything in at once. The difference in texture is noticeable.
The resting step most people skip
If there's one tip worth taking seriously, it's this: let your batter rest. Cover the bowl and refrigerate it for at least 20 to 30 minutes before you start cooking. During that time, the flour fully absorbs the liquid, the gluten relaxes, and the batter becomes noticeably silkier — and far less likely to stick to the pan.
After resting, if the batter feels too thick, simply stir in a splash of sparkling water or extra milk. The carbonation adds a subtle lightness and tiny bubbles that make the finished crepes even more tender.
Pan temperature — the detail that actually matters
The biggest enemy of a good crepe is the wrong pan temperature. Too hot and the batter scorches before it can spread; too cool and it just sits there, turning gummy. Medium heat is your target.
Before the very first ladle of batter goes in, wipe the pan with a lightly oiled paper towel. If you're using a cast-iron pan, this step is especially important — the first couple of crepes almost always stick until the surface is properly seasoned.
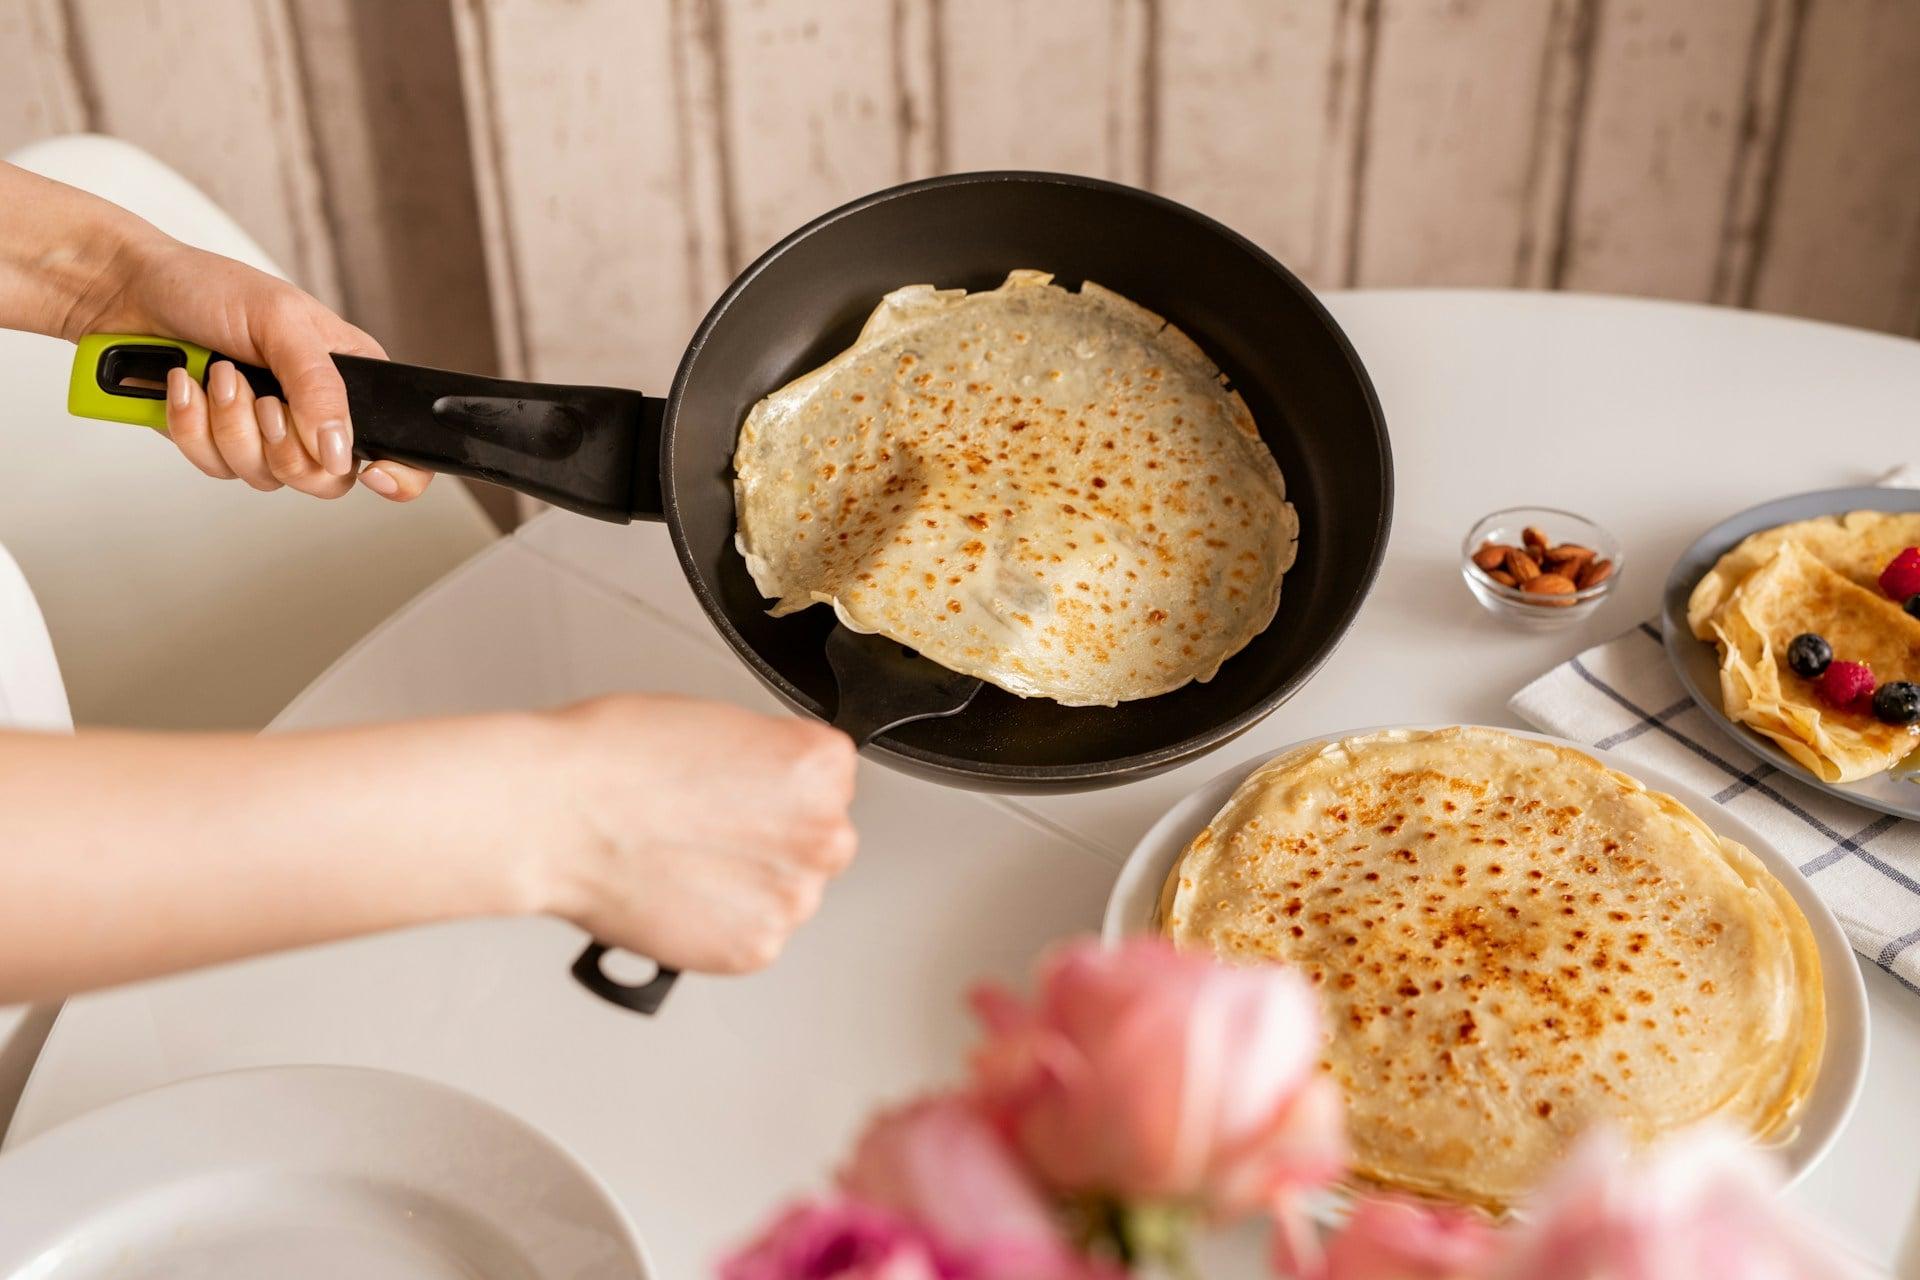
A great technique: lift the pan off the heat when you pour in the batter, swirl it immediately in a circular motion to coat the bottom evenly, then return it to the burner. This way the batter spreads before it starts to set, and you avoid those thick, chewy patches in the middle.
Cooking tips that genuinely change the result
- Use a ladle to measure each pour — this keeps every crepe consistently thin and the same size.
- Don't rush the flip. Wait until the edges lift slightly and turn lightly golden, then flip. If you're too early, it will tear.
- If a spatula isn't doing the job, a confident pan shake is the move — experienced cooks swear by it.
- Stack finished crepes on a plate and cover them with a clean kitchen towel or foil. The steam keeps them soft and pliable — they won't dry out.
- Cooking a large batch? Keep finished crepes warm in the oven at the lowest possible temperature (around 170°F / 75°C) while you finish the rest.
When things go wrong — and how to fix them
If your crepes keep sticking, the most likely culprits are not enough fat in the pan or a surface that wasn't hot enough when the batter went in. If they're coming out thick and rubbery, the batter is probably too dense, or the heat is too low — they end up steaming rather than crisping at the edges.
The perfect crepe isn't a one-time stroke of luck — it's a rhythm your hands learn after a few rounds. With a little practice, you'll instinctively know when to thin the batter and when the pan is exactly right, without measuring a thing.
Do I really need to rest the batter?
Yes — and it's probably the single most impactful step. Resting allows the flour to fully hydrate, relaxes the gluten, and results in a smoother, less sticky batter. Even 20 minutes makes a clear difference.
Why do my crepes always tear when I flip them?
Tearing usually means you flipped too soon. Wait until the edges of the crepe lift away from the pan and start to color slightly before you attempt a flip. A crepe that's ready to turn will release on its own.
What's the best pan to use for crepes?
A dedicated non-stick or well-seasoned cast-iron crepe pan works best. The key is a flat, even surface and consistent heat. Whatever pan you use, wiping it with a thin layer of oil between each crepe keeps things running smoothly.
Can I make the batter ahead of time?
Absolutely. The batter can be made the night before and kept covered in the refrigerator. In fact, a longer rest often improves the texture. Just give it a good stir before cooking and adjust the consistency with a splash of milk if needed.